Download
First have a look at the Requirements and FAQ.
Find the download link in the SAP Support Portal here. You will need a valid S-User and download permissions.
If you are not able to download the installer via Support Portal, there is a little workaround. Both, the installer for SAP Gui for Windows and SAP Gui for Java are also delivered with the AS ABAP 752 SP04, developer edition:
“The actual download (in the form of several .rar files), along with more information is available from the SAP Community Trials and Downloads page. Search for “7.52 SP04″ for convenience.”
You will have to download all 11 .rar files (about 14,6GB). When unziping, you’ll find a folder called client (about 1,2GB) containing both installers.

Installation
Since SAP Gui 7.50 Rev 5, Oracles JDKs is not necessary to run SAP Gui for Java, instead you are able to use OpenJDK. Read more about it here. And since version 7.50 Rev 8 the installer includes SapMachine and OpenJFX. Read more about it here. In this case, you don’t even have to install OpenJKD and OpenJFX by yourself and don’t have specify the module path, because it comes containerized within the SAP Gui.
So better first check the version of your downloaded gui. I’ve got SAP Gui 750 rev 5 within the AS ABAP 752 SP04. So let’s install openJDK & openJFX.
sudo apt-get install openjdk-11-jre openjfx
java --version

Finally lets install the SAP Gui:
cd JavaGUI/
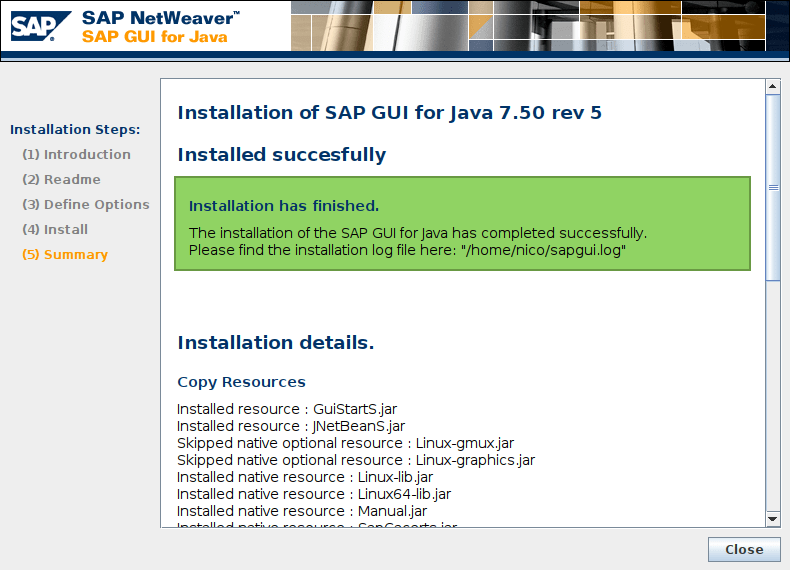
java -jar PlatinGUI750_5-80002496.JAR install
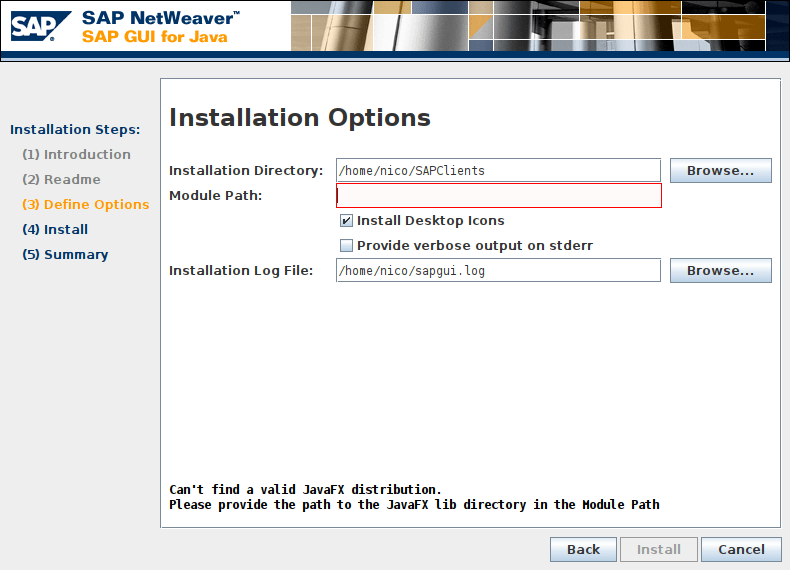
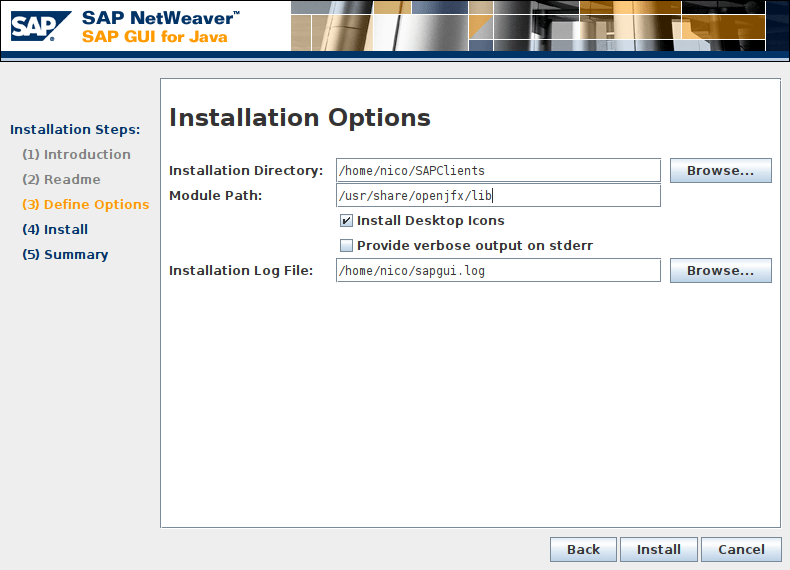
The important step during the installation of SAP Gui for Java Rev 5 is to define the option for the module path. The module path hast to point to the OpenJFX lib-path:
/usr/share/openjfx/lib
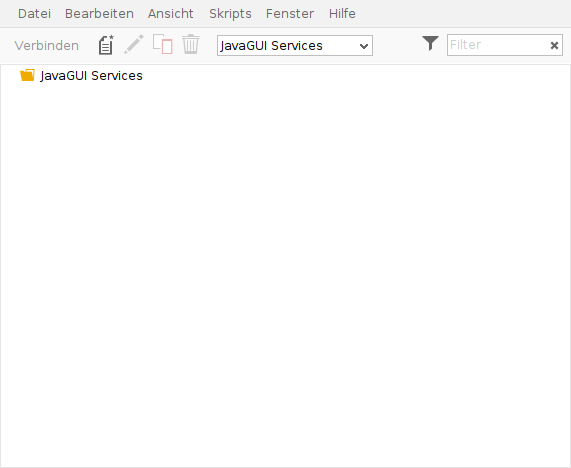
Now you should be able to run the SAP Gui on Linux Mint 20
Eclipse ADT
When using Eclipse with ADT in combination with SAP Gui for Java and receiving the following error:
"The system reqirements are not met.Could not find: javafx.propertiesin: /usr/lib/jvm/java-11-openjdk-amd64/libYour Java Virtual Machine seems not to support JavaFX, required to run the SAPGUI for Java 7.50 rev 5.Please make sure you provide a valid path to the Java FX modules during guiinstallation."
You also have to add the OpenJFX path to the eclipse.ini file. Read more about it here.
--module-path=/usr/share/openjfx/lib
--add-modules=ALL-MODULE-PATH