I was working with the Fiori App My Travel and Expenses for Business Traveler and implemented a new approval workflow. Unlike in the SAP standard workflow, the first approver was not the boss of the employee. The workflow was already working fine, but when sending the travel expense from the Fiori app, it still displayed the boss as approver.
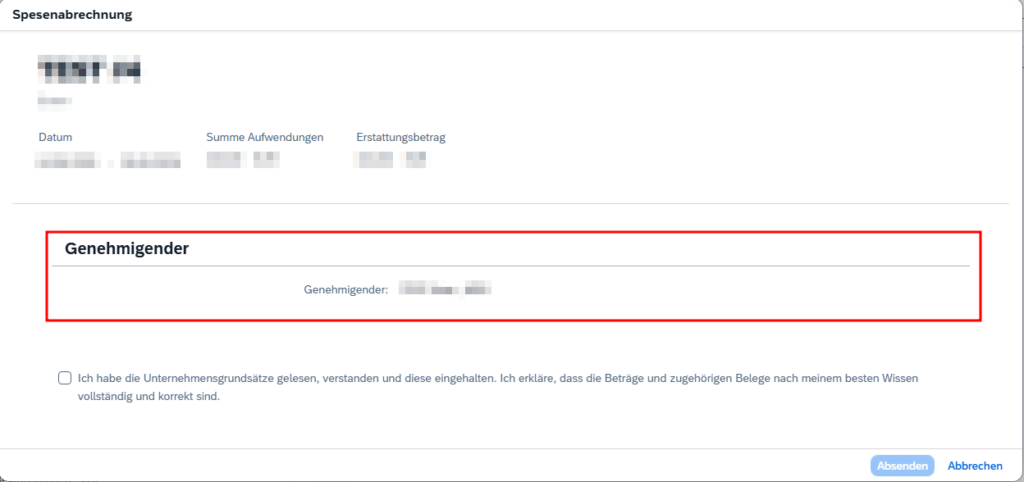
Naturally, the Fiori app does not know anything from the changes on the workflow. So I had to figure out where this approver value comes from and how I could adjust it to match the workflow logic.
I first went to the official documentation to check if there is any BAdI to change/overwrite the approver.
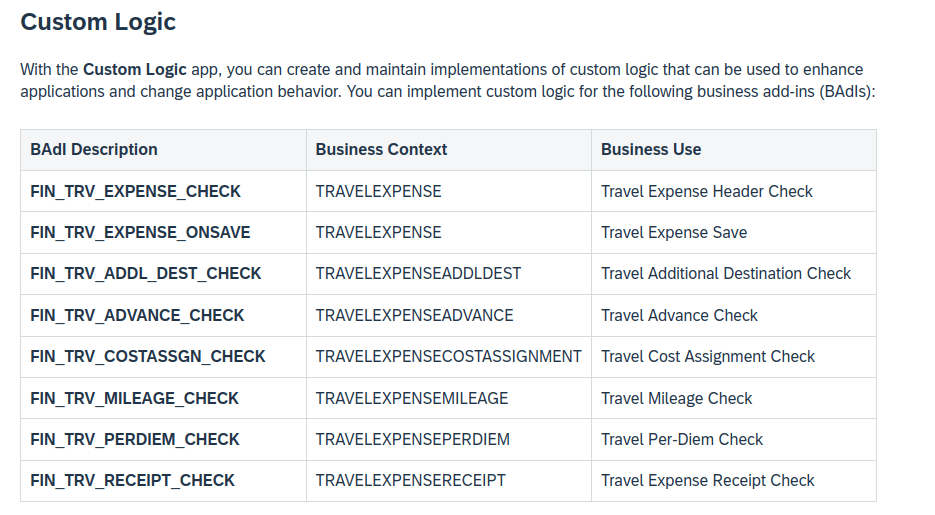
I also checked the note 3260453 – Enablement of Custom Logic for Key User Extensibility option in S/4HANA FIORI app MTE, but it seems like no BAdI was doing the job.
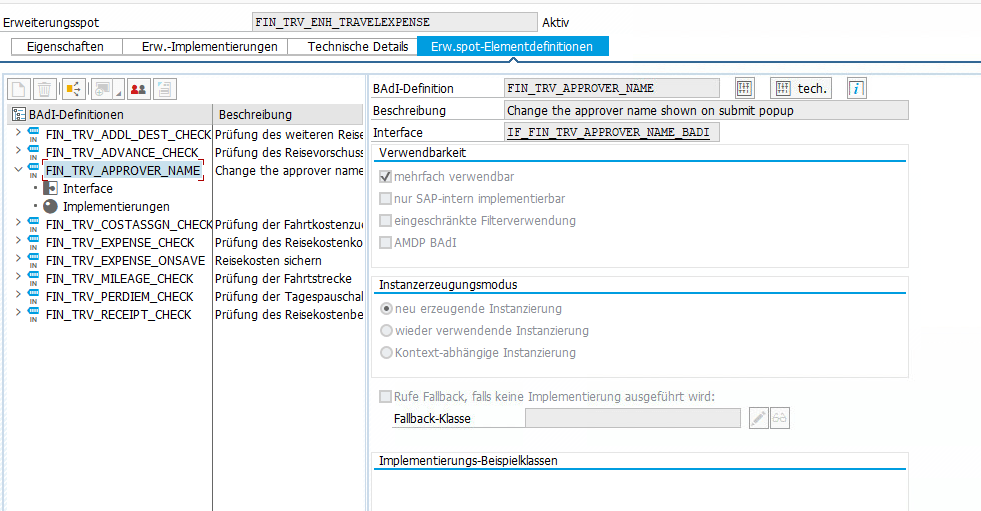
Spoiler: Actually there is a BAdI called FIN_TRV_APPROVER_NAME, but it is not listed here or anywhere else in the documentation. As many times before, incomplete SAP documentation wasted hours of my life…..
Because I could not find a BAdI, I went to the RAP service, to check where the approver is set and if it’s possible to overwrite it in someway.
When clicking the Create and send button in Fiori, a POST request to the endpoint CheckTripAmounts is fired. The response of type cds_ui_travelexpensemanage.TravelExpenseType contains the required value in field TrvlExpnApproverName.
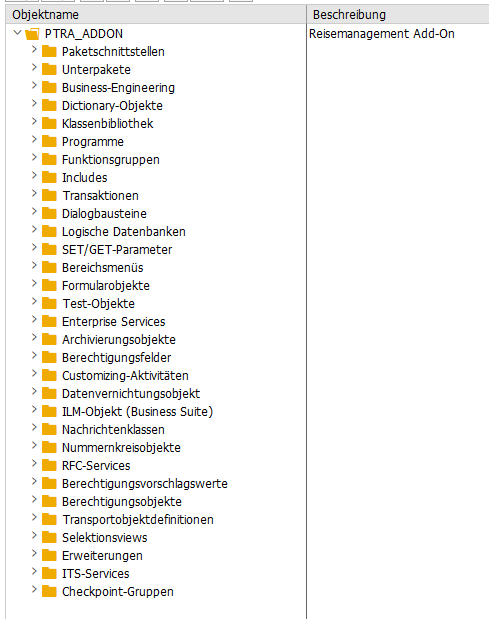
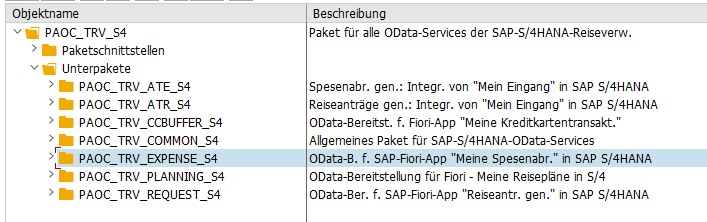
I already knew the corresponding package for RAP-Service.
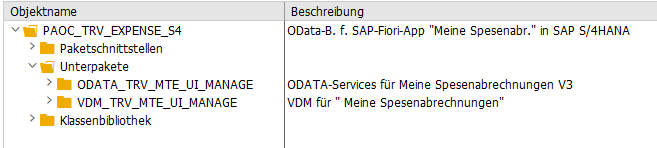
In package ODATA_TRV_MTE_UI_MANAGE I found the root view entity C_TravelExpense which contained the property TrvlExpnApproverName. Its projection I_TravelExpense was located in package VDM_TRV_MTE_UI_MANAGE. I was already afraid, that the approver is somehow read via some CDS association, but it turned out to be added as empty field and properly therefore is manually filled in some behavior implementation.
cast ( ' ' as vdm_trvlexpnapprovername ) as TrvlExpnApproverName,
The related behavior implementation was in class CL_BP_I_TRAVELEXPENSE and there I found the CheckTripAmounts method, which matched the POST request I saw in the Dev console. And here I found the following logic.
    DATA l_trvlexpnapprovername TYPE char40.
    cl_trv_business_data_s4=>get_approver( EXPORTING iv_employeenumber = api->get_header( )->get_pernr( )
                                                     io_header = api->get_header(  )
                                           IMPORTING ev_approver_name  = l_trvlexpnapprovername
                                                     et_messages       = lt_return ).
When looking in the get_approver method I found the default approver logic via OM, but also a BAdI call at the end.
    DATA lo_badi TYPE REF TO fin_trv_approver_name.
    TRY.
        GET BADI lo_badi.
        DATA(ls_general_data) = io_header->get_general_data( ).
        CALL BADI lo_badi->change_approver_name
          EXPORTING
            iv_traveller_pernr = iv_employeenumber
            is_general_data    = ls_general_data
          CHANGING
            cv_approver_name   = ev_approver_name
            cv_approver_pernr  = ev_approver_pernr.
      CATCH cx_root.
    ENDTRY.
Turned out, there is BAdI to overwrite the approver, it was just not documented…………………. all other eight BAdI’s are mentionend in the documentation.