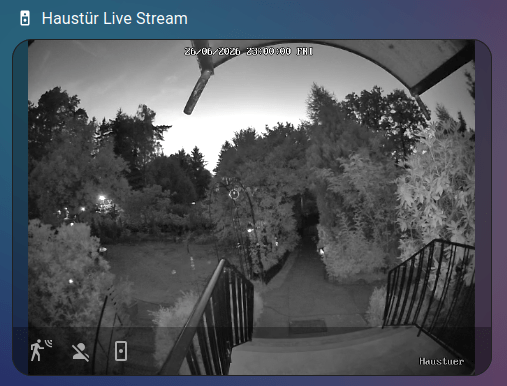
In addition to the gallery-card, which I use to display camera recordings, I also have a live stream from each of my cameras on my dashboard. This is very easy to set up using standard cards.
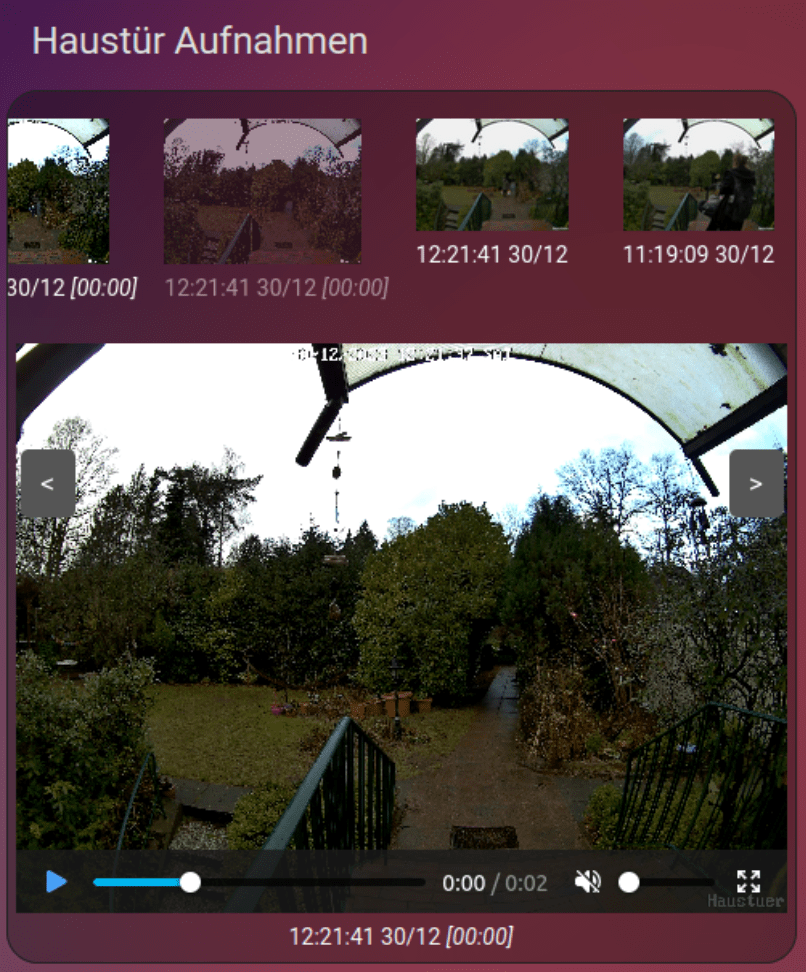
A few months ago, I installed a Reolink Doorbell at our front door. Since then, I’ve used it for simple automations like sending a photo when someone is at the door. To capture a photo, I was using the camera.snapshot service. I never used the photos and videos that the doorbell itself recorded and that were stored on my TrueNAS system via FTP. Mainly because I haven’t found a good way to display the captured photos and videos on my Dashboard. But finally I was able to fill the gap with the Gallery Card, which turned out to be exactly what I needed the whole time. By using it, you can simply display the latest images and videos, even when they are stored in some kind of nested folder structure, and it also helps to parse filenames to display them in a more convenient way.
Following a brief overview of what I had to do:
TrueNAS
Create dataset, in my case it’s: data/camera
Share the dataset via NFS
Sharing → Unix Shares (NFS) → Add → Choose your new dataset
Create some folder(s) on your new dataset, for example: /Reolink/Wifi-Doorbell/Recordings (to do that, simply mount the NFS share to your local machine or use the terminal)
Most variables are self-explanatory and also well explained by the galery-card docs, but below a few words about the settings I used, beginning with the path to the media which is provided on the entities attribute.
The first part is a default value: media-source://media_source/ Followed by the usage type and name we have chosen when mounting the NSF share: media/Reolink/ Then we need the directory path: Reolink/Wifi-Doorbell/Recordings
Because we chose in the Reolink settings “Generate subfolder by: YYYY-MM-DD“, the files are stored in a hierarchy like this:
2023
10
11
12
01
02
03
04
05
The gallery-card can automatically parse this, if you provide the following setting: folder_format: YYYY/MM/DD. And because the filenames look like this: Haustuer_00_20231230143626.jpg, you have to add file_name_date_begins: 12 to skip the firs letters, and file_name_format: YYYYMMDDHHmmss to parse the date. With caption_format: HH:mm:ss DD/MM you can define the output, how you want to display the parsed timestamp.
15.03.2025: As the original Gallery Card is discontinued, I switched to a fork.
# check if device is found
adb devices
# reboot into sideload modus
adb reboot sideload
Or manually boot into TWRP recovery, holding Volume Up + Power when the phone is off. Navigate to Advanced → ADB Sideload.
Update MIUI Firmware
Following the docs, I first had to check the Firmware version. V12.0.3.0.QEAMIXM was required, and I already had it installed. If you’re on an older version, download the right MIUI Firmware for your device from https://xiaomifirmwareupdater.com/firmware/dipper/. Flash the new Firmware via TWRP or via ADB sideload.