I always wanted to try one of these cheap Smart Locks from AliExpress. In November, I saw a good offer and ordered one. Most of these Smart Locks have Bluetooth and can be connected to Wi-Fi using an extra hub. Depending on the lock version, it can either be used with the Tuya App or the TTLock App. In some comments I’ve read, that TTLock is the better way, when planing to integrate the lock in Home Assistant.
Additionally, in some comments that I don’t find anymore, someone wrote that the new G6 Hub supports Matter, and this way the lock can be added locally to Home Assistant, instead of the TTLock Cloud based service. But only one lock per Hub can be published via Matter. I found no information what entities will be published by the Hub via Matter. That’s why I ordered one and tested myself.
I bought the following two devices:
Sciener smart lock V1 Pro+ for 50,95$ in the TTLock version without Gateway

Smart Lock Matter Gateway G6 for 24,07$

Setup was super easy and the lock works perfectly fine! Setting up the hub and the TTLock app was also easy.
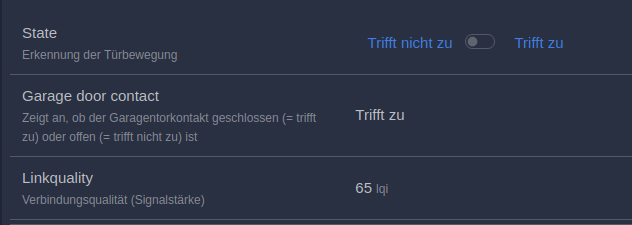
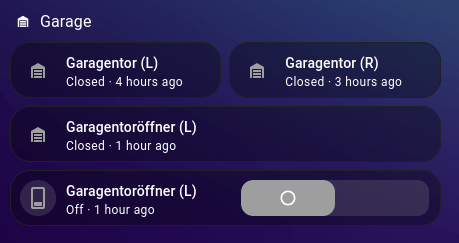
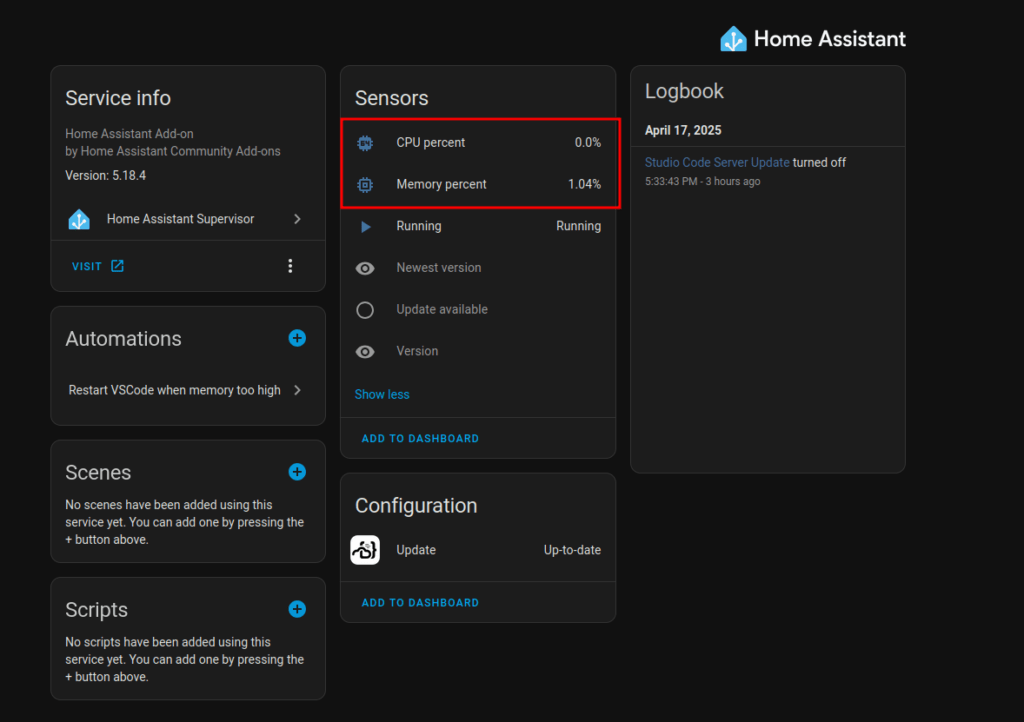
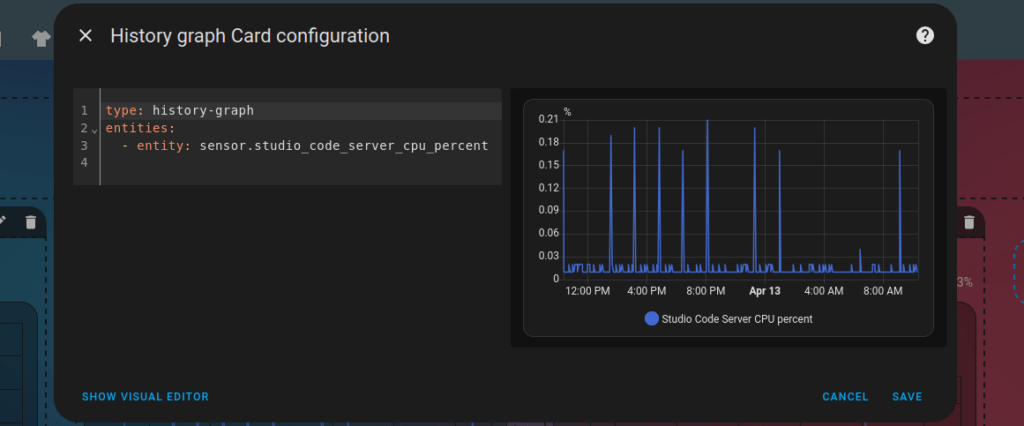
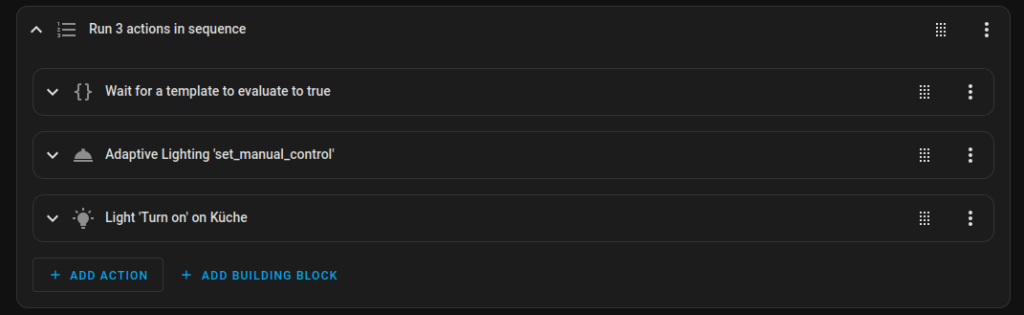
Here is a screenshot what I got after adding the Hub to Home Assistant via Matter.
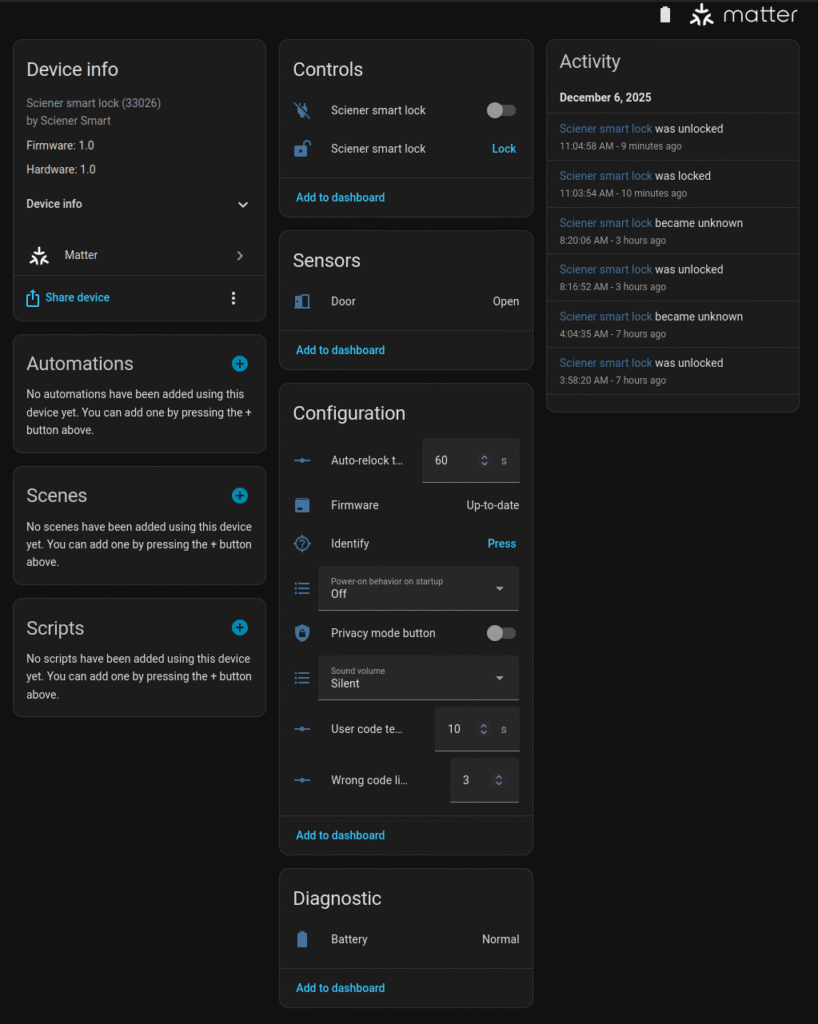
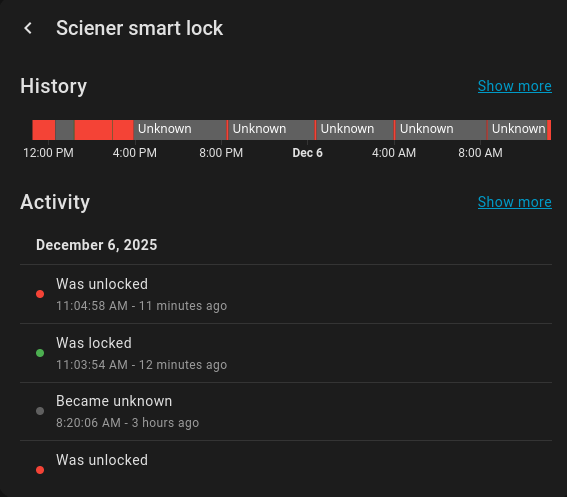
This looked promising, but it turned out, nothing ever gets updated…. the only thing that updates occasionally is the lock.sciener_smart_lock control (second control in the screenshot), but most of the time it is in status unknown. Not sure what is going on here, but even is the status is not unknown, it stays in the status “unlocked” most of the time, even if the lock is currently locked. However, it is possible to unlock the door via Home Assistant, but most of the time you first have to hit Lock, although it is already locked, and then Unlock. But in daily use, you would rarely open the lock via Home Assistant anyway, as using the fingerprint is much quicker. However, for me, it was more important to monitor who and when unlocked the door, but this information is not provided.
As the Matter integration turned out to be a fail, I set up the TTLock integration, which depends on the cloud.
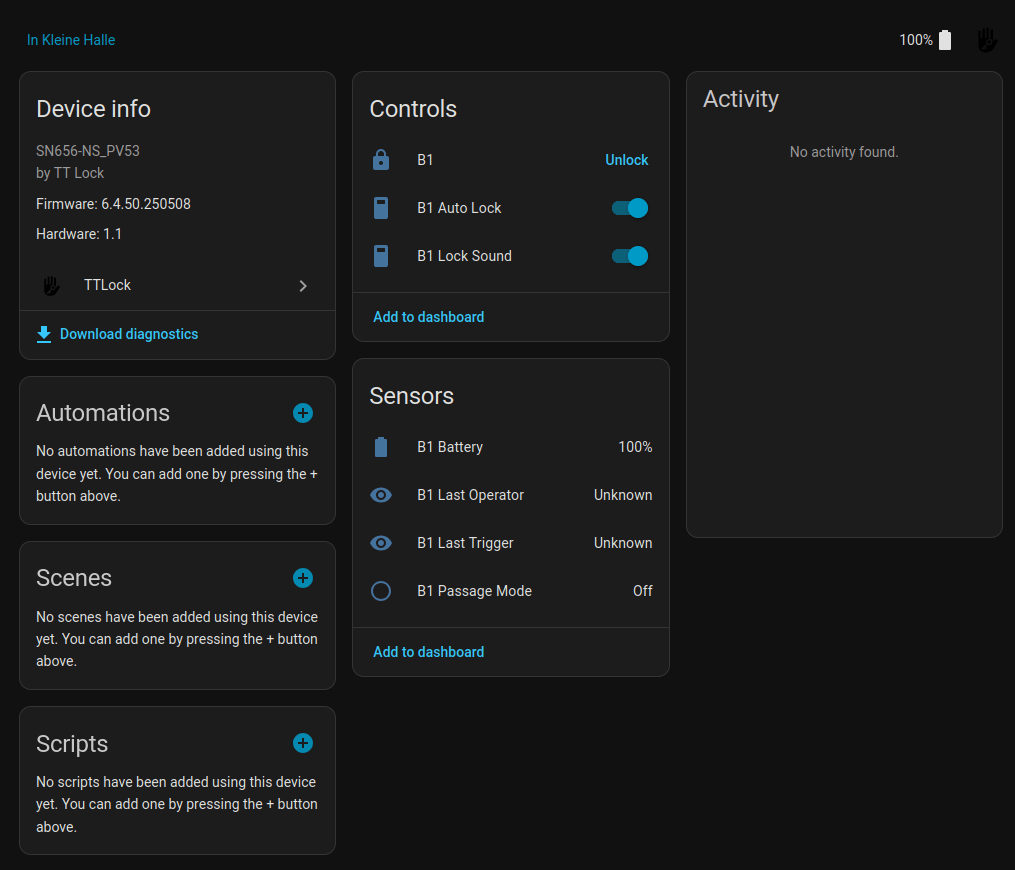
Using TTLock it is a similar situation. At least the lock control is always in status Locked, and the lock can be unlocked from Home Assistant, but the sensors are never updated and also there is no lock history. Means opening the lock using the fingerprint, does lead to any update in the Home Assistant lock history. So even the TTLock Integration does not provide any real value…
I guess the lock does not provide many updates to the hub to enhance the battery lifetime. This means monitoring the lock in Home Assistant is currently very limited. Anyway, the lock is a great improvement in our daily lives, and I already wonder how I managed to live without it all these years. 🙂
Update 24.06.2026: Over the past two weeks, the fingerprint sensor suddenly stopped working properly. For some reason, it would only recognize my finger every third or fourth time. It turned out that after replacing the battery – even though the app still showed 25% – everything worked perfectly again.
So the first set of batteries lasted a little over half a year, which is pretty good, since we use our door often! And by “often” I mean about 10 to 20 times a day, and even more often in the summer, since we also use the door to go out into our garden!