Install VirtualBox 6.0 on Linux Mint.
wget -q https://www.virtualbox.org/download/oracle_vbox_2016.asc -O- | sudo apt-key add -
echo "deb [arch=amd64] https://download.virtualbox.org/virtualbox/debian bionic contrib" | sudo tee /etc/apt/sources.list.d/virtualbox.list
sudo apt-get update
sudo apt-get install -y virtualbox-6.0
Download the Manjaro ISO here.
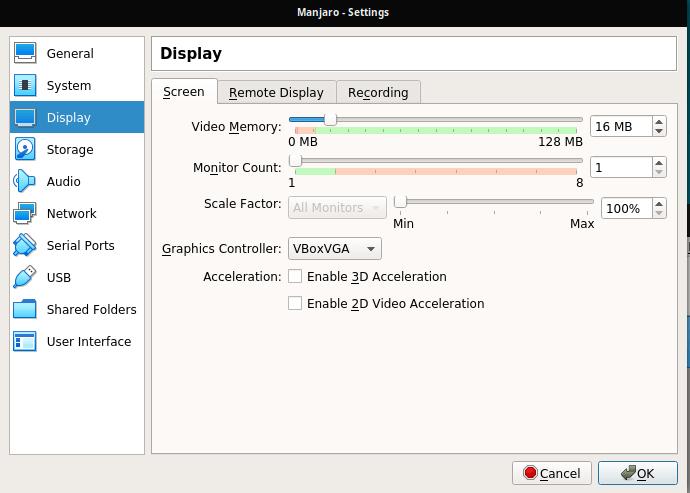
Run VirtualBox and create a new VM with type “Linux” and version “Arch Linux (64-bit)”. If done, go to Settings -> Display and switch Graphics Controller to “VBoxVGA” to be able to change the screen resolution of your VM. For transparency effects, you can also check “Enable 3D Acceleration”.
(Changing this setting didn’t work on my existing VM, only when creating a new VM. So it’s important to do this step before installing the OS.)
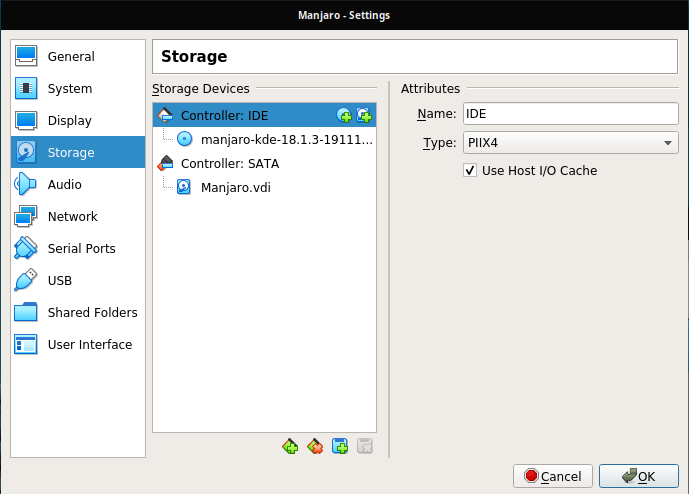
Now go to Storage and add your Manjaro ISO as optical drive.
Start the VM and go through the Manjaro installation process. If done, shutdown your VM, go back to settings and remove the Manjaro ISO as optical drive. Else it will boot again into the installer. Now start the VM again.
To run with the VirtualBox Guest Additions, you only have to install virtual-box-utils inside your VM:
sudo pacman -S virtualbox-guest-utils