Heute habe ich den Blog von einem DigitalOcean Droplet auf einen V-Root Server bei Strato umgezogen. Da der V-Root etwas mehr Power hat, werde ich einige Dienste, die ich bereits privat auf meinen Proxmox Servern hoste, auch auf den Strato Server umziehen. Bisher habe ich meine Anwendungen überwiegend in LXC’s (Linux Containern) oder auch VM’s installiert. In Kombination mit ZFS als Dateisystem (mit der großartigen Snapshot Fähigkeit) bin ich damit die letzten 4 Jahre ohne Probleme gefahren. Bei einem V-Root ist diese Möglichkeit nun nicht mehr gegeben. Daher habe ich die Chance genutzt, tiefer in das Thema Docker einzusteigen. Bisher habe ich nur vereinzelt Docker Container genutzt und die wenigen jeweils auch nochmal in einem LXC (vereinfachte mir das Snapshot handling). Nun also mal der Versuch, komplett auf Docker umzusteigen.
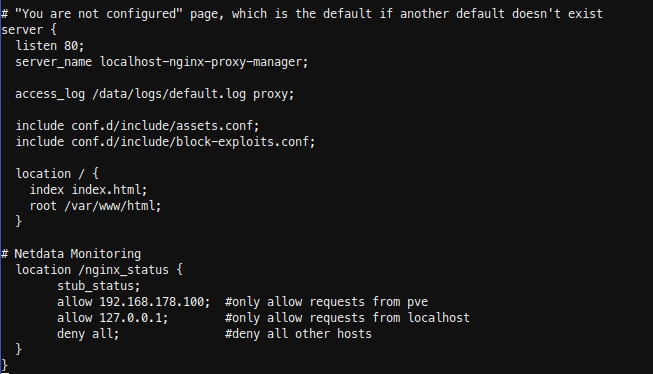
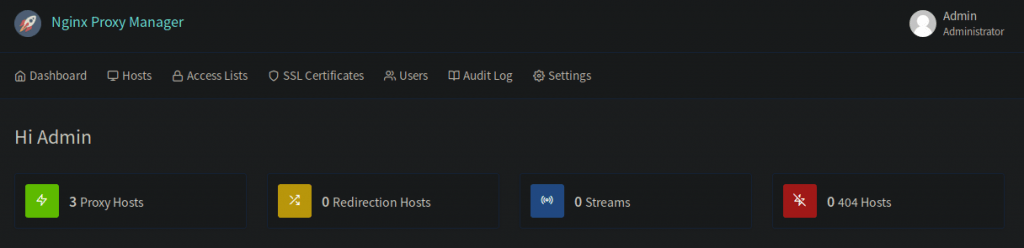
Der WordPress Blog ist als erstes in einen Docker Container umgezogen. Danach habe ich noch Nextcloud (plus OnlyOffice & Collabora) und Bitwarden aufgesetzt. Hier werde ich jedoch noch ein paar Tage testen, bevor ich mit all meinen Daten rüber migriere. Da man immer wieder von Traefik als Reverse Proxy in Kombination mit Docker liest, habe ich diesen probiert, jedoch nach mehreren Stunden etwas gefrustet wieder sein lassen. Auch wenn die ersten Services ganz gut damit liefen, scheint mir der Aufwand erheblich höher und die benötigten Labels für jeden Container nicht grade intuitiv. Da in den meisten Dokus Beispiele für Nginx zu finden sind, bin ich zurück zu dem Nginx Proxy Manager, welchen ich bereits seit Jahren erfolgreich zuhause im Einsatz habe. Auch wenn das bedeutet, dass ein Docker Container nun nicht “automatisch” via Traefik (durch 10-20 vorher zusammen gesuchte Labels je Service….) nach außen bereitgestellt wird, sondern nur nach “einigen wenigen” Klicks im Nginx Proxy Manager…. Nach meinem Gefühl, gibt sich das irgendwie nicht viel.
Einige weitere Dienste stehen noch auf der Liste und auch ein paar neue Sachen möchte ich mit aufnehmen. Bereits installiert sind:
- WordPress
- Nginx Proxy Manager
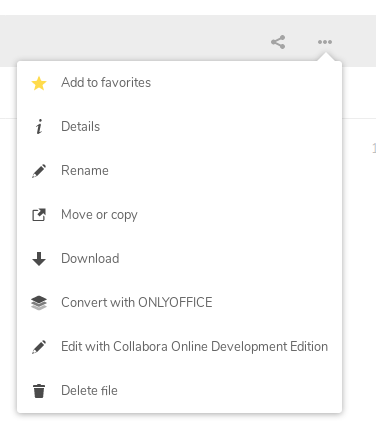
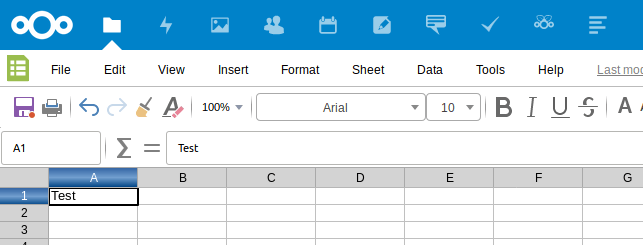
- Nextcloud
- OnlyOffice
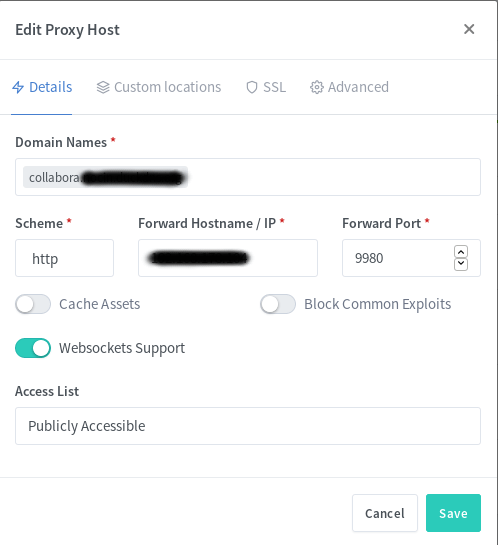
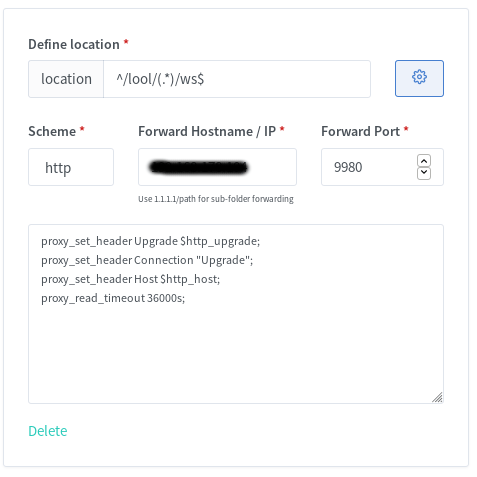
- Collabora
- Bitwarden
- MyPhpAdmin
Es folgen noch:
- Portainer
- Wallabag
- Gitlab
- Jitsi
- Teamspeak
- PiHole
- Wireguard
- OpenLDAP
Und je länger man nachdenkt, desto mehr fällt einem sicherlich noch ein. 🙂
Die Docker-Compose Dateien werde ich dann final auch hier Veröffentlichen mit allen zugehörigen Links, die mir bei der ein oder anderen Schwierigkeit geholfen haben.