Homelab, Linux, JS & ABAP (~˘▾˘)~
 

[Nextcloud] OnlyOffice to Euro-Office

A fork of OnlyOffice called Euro-Office has been available for a few months now. Since it seems that many users are switching to this new solution, I decided to test it out for a while as well. Since I don’t use Nextcloud AIO, I had to manually set up a separate Euro-Office instance.

The setup was straightforward. Create a docker-compose.yaml and a .env for your 32 character long JWT secret, and then start the service with docker compose up -d.

services:
  documentserver:
    image: ghcr.io/euro-office/documentserver:latest
    container_name: euro-office-documentserver
    restart: unless-stopped
    environment:
      EXAMPLE_ENABLED: "false"
      JWT_SECRET: ${JWT_SECRET}
    networks:
      - proxy

networks:
  proxy:
    external: true

Add the new service to your reverse-proxy. In my case, I still wanted to keep my OnlyOffice setup, in case I want to go back, so I first created a new subdomain. After about 3h, the new created A record for my subdomain was working.

The only problem I had, was that I could not find “Nextcloud Office” in the Apps list via the Nextcloud Web Interface. Perhaps because I’m still on Nextcloud Version 33.0.9 and Nextcloud 34 is listed as prerequisite in the docs. Therefore, I had to install it via command line.

docker exec --user www-data nextcloud-app php occ app:install eurooffice

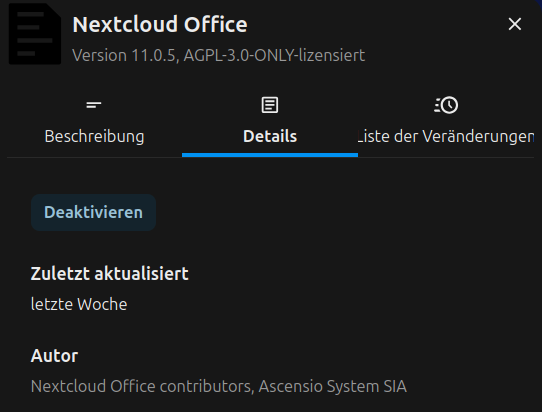
It installed the latest Version 11.0.5.
After that, simply add your URL and JWT Secret in the settings.
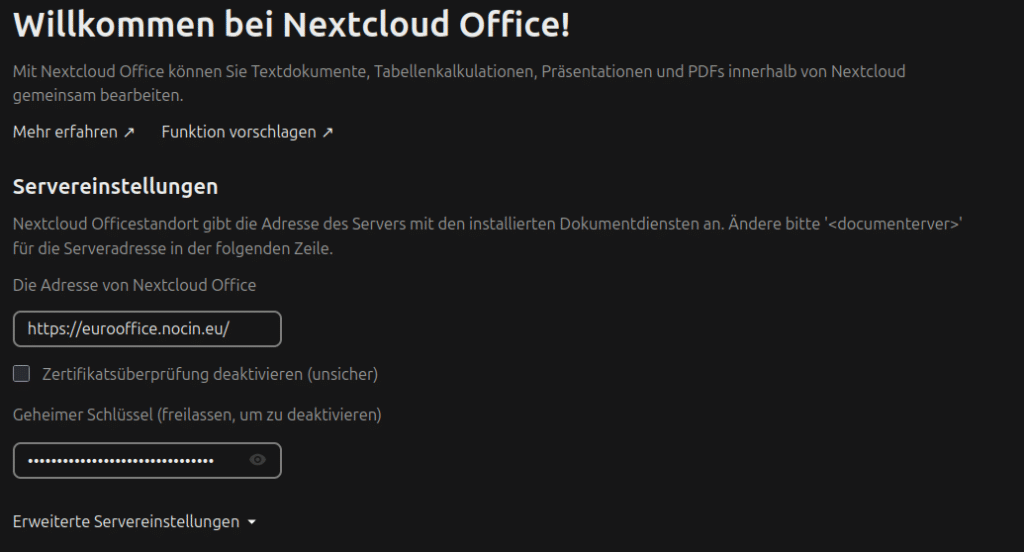
Everything was working immediately. Great!

One nice thing I already noticed, you can edit files on your mobile phone again. This feature had been restricted at some point in OnlyOffice.
[Fiori] Launchpad: Failed to load catalogs

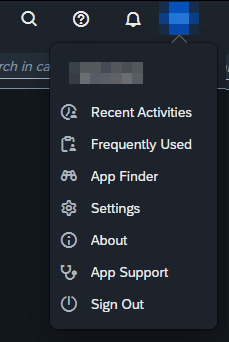
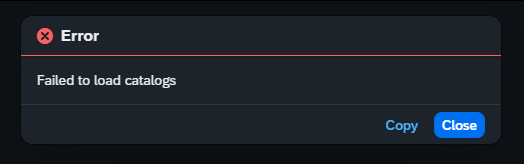
Recently, I was confronted with the “Failed to load catalogs” error message when starting the Fiori Launchpad (/ui2/flp) and navigating to the App Finder.

The system was quite new and the Fiori Customizing was not completely done yet. When opening the Dev Tools, I saw a failed request to

/sap/opu/odata/ui2/page_builder_pers/PageSets('%2FUI2%2FFiori2LaunchpadHome')

Opening this failed request in a new tab results in an HTTP 404 from an Apache web service. So it looked like an Apache was set up as reverse proxy in front of the sap system. I tried to call the PageSets endpoint without providing the key %2FUI2%2FFiori2LaunchpadHome and got an HTTP 200. So in general, Apache was working, and the service endpoint page_builder_pers was responding. Next, I did the same service calls from the gateway client and both calls were working fine. So it looked like Apache was the problem when providing the PageSets key. After a quick search, I found this post on Stack Overflow:

https://stackoverflow.com/questions/37834925/apache-reverse-proxy-blocking-sap-fiori-launchpad-url

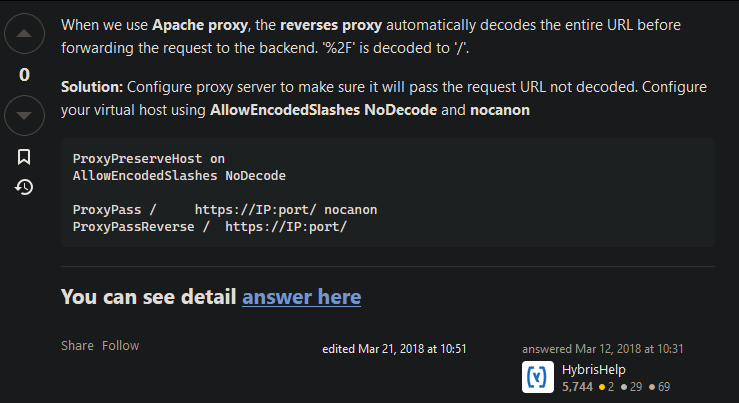
So the issue was some (in this case) incorrect decoding of ‘%2F’. After contacting the basis team and adding the proposed Apache configs, the request finally resolved successfully, and the Launchpad was displaying some apps.

[NGINX] Monitoring Nginx using Netdata

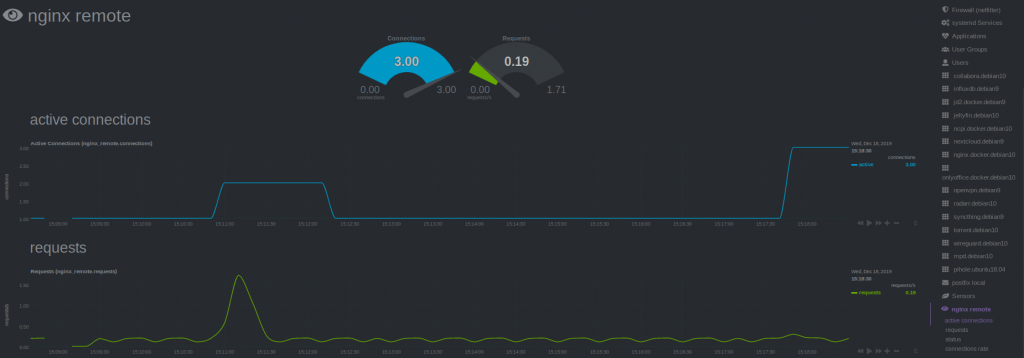
Recently I saw this tutorial about monitoring Nginx with Netdata and tried it by myself. I have running Netdata on my Proxmox Host and Nginx inside LXC. So I could skip step 1 and 2 of the tutorial. Since I’m using the super simple nginx-proxy-manager, which comes as docker deployment, it took me some minutes to figure out, how to enable the Nginx ‘stub_status‘ module (which is step 3 of the tutorial). Here’s what I did.

SSH into the LXC where the Nginx Docker is running. Look up the nginx container name (root_app_1) and open a shell in the running container.

docker ps
docker exec -it root_app_1 /bin/bash

Check if the ‘stub_module‘ is already enabled. The following command should return: with-https_stub_status_module
I got it from here.

nginx -V 2>&1 | grep -o with-https_stub_status_module

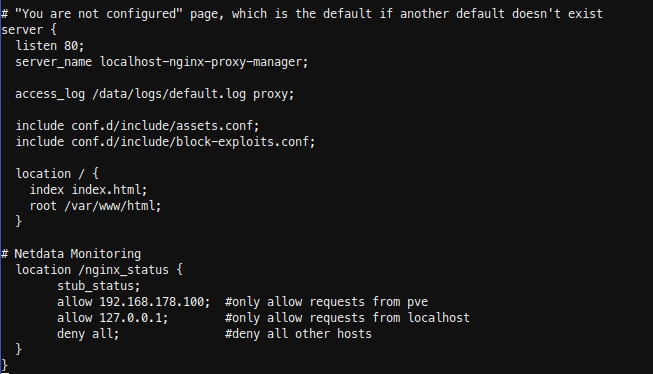
Next add a location to the nginx ‘server {}‘ block in the default config, to make it reachable via Netdata. The tutorial goes to ‘/etc/nginx/sites-available/default‘, another tutorial is editing ‘/etc/nginx/nginx.conf‘, but I found the default config in ‘/etc/nginx/conf.d/default.conf’.

nano /etc/nginx/conf.d/default.conf

If nano is not installed (bash: nano: command not found), just install it. Get more information here or here.

apt update 
apt install nano -y

Insert the new location in the server { listen 80; …..} block. In my case I have running Netdata on my Proxmox host, so i added localhost and my Proxmox ip.

  location /nginx_status {
	stub_status;
	allow 192.168.178.100; #only allow requests from pve
	allow 127.0.0.1;	  #only allow requests from localhost
	deny all;		  #deny all other hosts	
  }

Save, exit your docker container and restart it.

docker restart root_app_1

SSH into Proxmox and check with curl, if you able to reach the new nginx location.

For the last step Configure Netdata to Monitor Nginx (step 4) , just follow the Netdata Wiki. Place a new file called nginx.conf on your Netdata host.

nano /etc/netdata/python.d/nginx.conf

Because Netdata is not running local, use ‘remote‘ following the url, instead of local and localhost.

update_every : 10
priority     : 90100

remote:
  url     : 'https://192.168.178.197/nginx_status'

Restart Netdata and your are done.

sudo systemctl restart netdata

[NGINX] Reverse Proxy

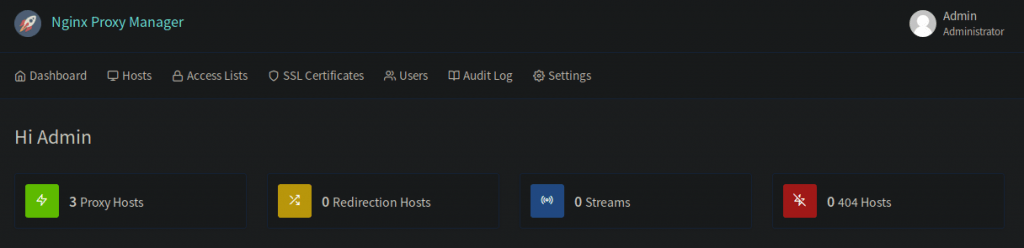
As I installed OnlyOffice to edit Word and Excel files directly from my Nextcloud, I had to setup a reverse proxy because OnlyOffice needs to run on a separate Server/Container and has to be reachable via https. First I tried to setup Nginx manually (way to complicated to handle in my opinion), then I tried Traefik (if you’re running a docker einvironment, I’m sure that’s a good solution) and in the end, I stuck with Nginx Proxy Manager. If you already have docker installed, this is by far the easiest way and also provides an awesome WebUI, where you can manage all your proxy hosts and SSL certificates.

The installation is done in just three simple steps: Set the port fowarding (80 and 443) in your router to your server/container, grab all the files in the doc/example/ folder and run

docker-compose up -d

And it’s done.
Now just enter the WebUI (ip:81) and setup all your routes.