In an automation, you can retrieve the friendly_name of the triggering device using:
{{ trigger.to_state.attributes.friendly_name }}
Helpful if an automation can be triggered by different devices (e.g. garage door 1 or garage door 2) and you want to send a notification that explicitly names the triggering device:
  - service: notify.ALL_DEVICES
    data:
      title: Garage open!
      message: >-
        {{ trigger.to_state.attributes.friendly_name }} is open
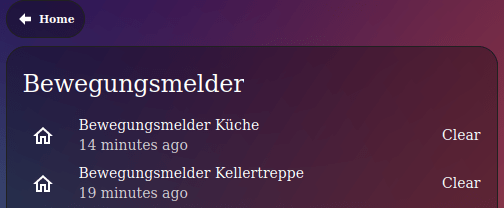
After the last Zigbee2MQTT update to version 1.39.0, suddenly the motion sensors were missing in my auto-entities cards, which I use to display all motions sensors for specific areas.
When checking the changes included in the new Zigbee2MQTT version, I found the reason: https://github.com/Koenkk/zigbee2mqtt/pull/22896 With this pull request, the device_class is motion is replaced with occupancy. After changing the device_class in the auto_entities config, the motions sensors are displayed again.
Alternatively, you can switch the device_class back to motion, like it is described here. This would also bring back the old icon mdi:motion-sensor instead of mdi:home-outline.
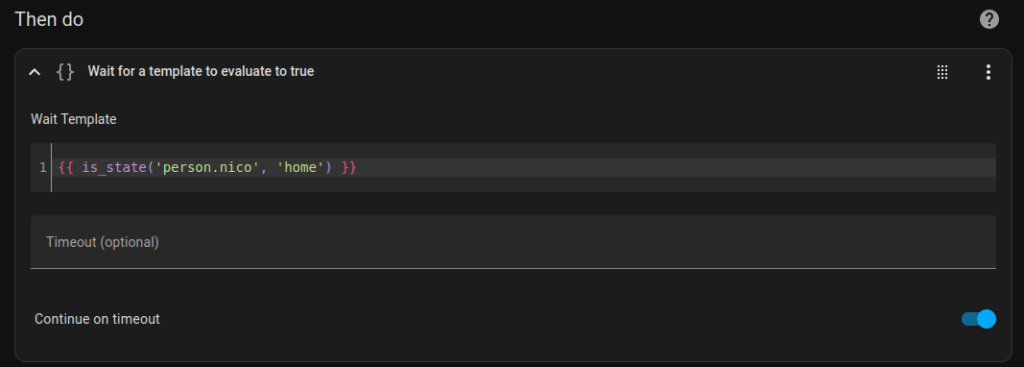
If you have a notification, which is only relevant for you when you are at home, it does not make sense to send it, if you are away. Instead, it would make sense to receive it the moment you get home.
To do this, simply add an Wait for a template action before sending the notification, with the following content. This can be done via YAML configuration
If you are currently at home, means the entity status is already in the state home, it will be resolved immediately, otherwise it will wait until your status changes to home.
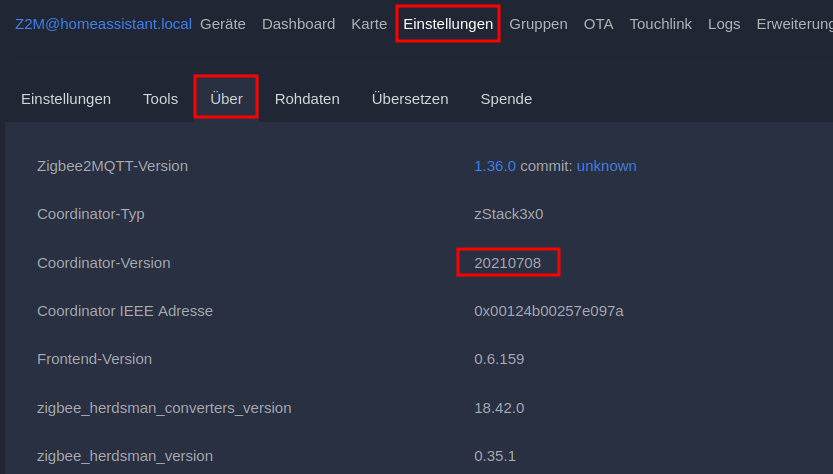
Suddenly, some weeks ago, devices in my Zigbee network started to become sometimes unavailable and did not respond. This occurred at random times and on random devices. When checking the Zigbee2MQTT logs, it was flooded with MAC channel access failure error messages.
When searching for this error message, this GitHub issue pointed me to the potential issue: Network Interferences (probably Wi-Fi). See also the official docs here.
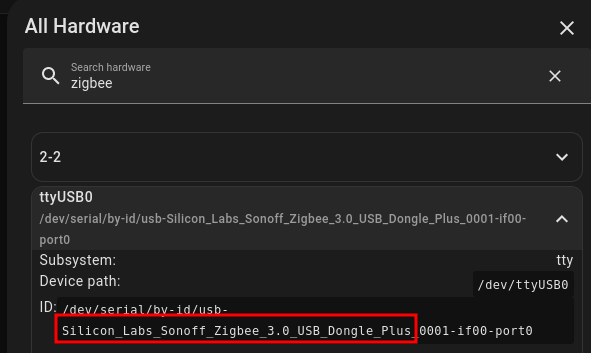
I have two ZigBee networks in parallel. One using ZHA and the Conbee II stick running on channel 20. And one using Zigbee2MQTT using a Sonoff ZBDongle-P (CC2652P) running on channel 11, which had the network issues. Without further investigation, I thought, let’s check what channel my own Wi-Fi is using and if it is on channel 11, simply change it to something else (which turned out to be a completely wrong approach). In my FritzBox router, the channel selection was configured as “auto”. So no specific channel set. That made sense to me, as the ZigBee issues randomly appeared, so perhaps only when the Wi-Fi switched to a channel, ZigBee was already using.
Without further investigation, I simply set the Wi-Fi channel to 1, so that it does not interact with Zigbee channel 11 (just to mention it here again: this is completely incorrect!). But things got worse, instead of better.
After reading this great blog post about building a stable Zigbee network and seeing the graph from Metageek about Wi-Fi and Zigbee channels, I noticed my issue…
Wi-Fi Channel 11 <> Zigbee Channel 11
By simply looking at the Metageethek graph, I understood why I made things even worse. My newly selected Wi-Fi channel 1 interfered directly with Zigbee2MQTT channel 11. SmartHomeScene is recommending the following channel settings in their blog post:
Zigbee channel 11, Wi-Fi channel 6 or 11
Zigbee channel 15, Wi-Fi channel 11
Zigbee channel 20, Wi-Fi channel 1
Zigbee channel 25, Wi-Fi channel 1 or 6
So I tried switching my WI-FI to channel to 11, which should not interference with ZigBee channel 11. And yes, Zigbee2MQTT was now running fine, but suddenly the MAC channel access failure error messages appeared on ZHA. Seems like the ZHA ZigBee channel 20 was sill too close to WI-FI channel 11. So I thought, why not using a WI-FI channel, which is completely out of the ZigBee range. I switched my Wi-Fi from channel 11 to channel 13, and everything runs smooth since then. Finally, my ZigBee network is “rock solid”! 🙂
Update 19.04.2024: The Zigbee network was now working without issues for a few days, but suddenly my ESP Devices started to drop off the WI-FI network… When searching, I found this blog post, where it’s recommended to avoid channel 12-14 when using ESP devices. As I didn’t want to get into conflict with the Zigbee network again, I changed the channel from 13 to 12 as a test. And after a few days, I can now say that Zigbee and ESP devices are running smoothly. Finally!
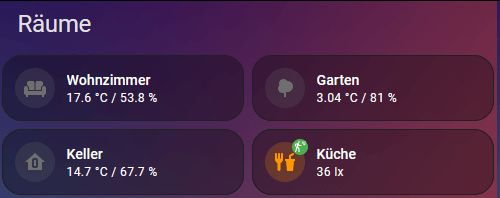
Somehow, I’ve only just realized that a badge icon can be used to display another entity status on a template card, even though it’s written in the documentation. I now use it to display the status of presence or motion sensors in the respective rooms.
badge_icon: >-
  {{ "mdi:motion-sensor" if states("binary_sensor.0xb4e3f9fffeb689d4_occupancy")  == "on" }}
badge_color: >-
  {{ "green" if states("binary_sensor.0xb4e3f9fffeb689d4_occupancy") == "on" }}
So far, I have only made backups of my Home Assistant VM via Proxmox to my TrueNAS server. To also have a remote backup, I stumbled over Nextcloud Backup. For the add-on installation you have to add a repository, but after that the setup is straight forward.
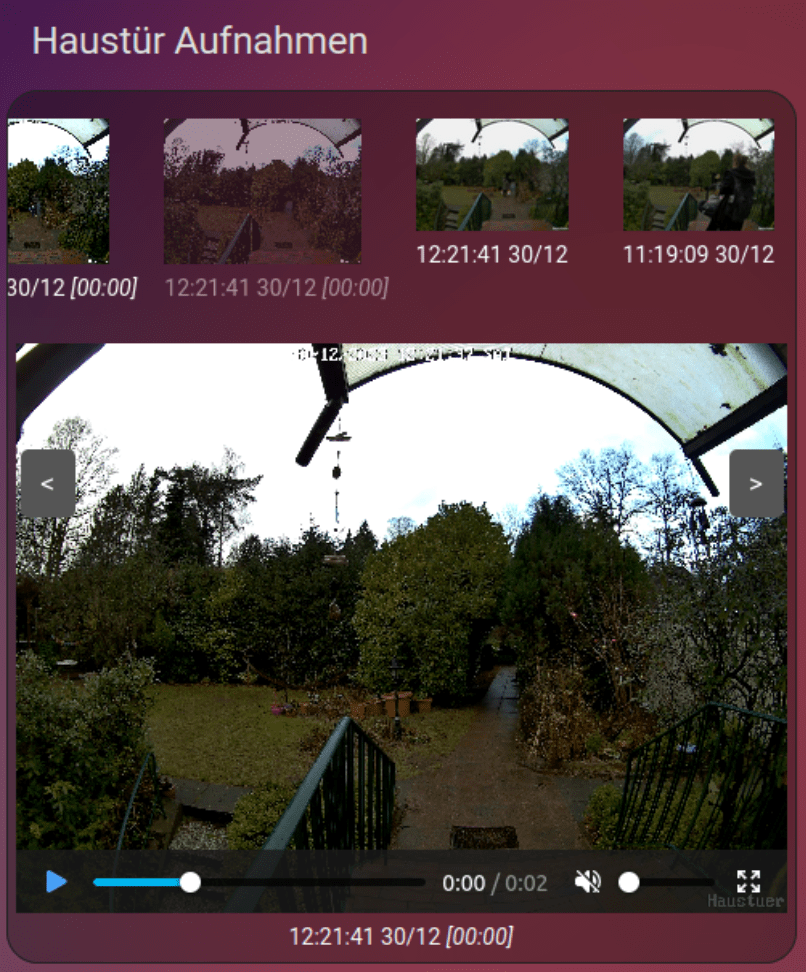
A few months ago, I installed a Reolink Doorbell at our front door. Since then, I’ve used it for simple automations like sending a photo when someone is at the door. To capture a photo, I was using the camera.snapshot service. I never used the photos and videos that the doorbell itself recorded and that were stored on my TrueNAS system via FTP. Mainly because I haven’t found a good way to display the captured photos and videos on my Dashboard. But finally I was able to fill the gap with the Gallery Card, which turned out to be exactly what I needed the whole time. By using it, you can simply display the latest images and videos, even when they are stored in some kind of nested folder structure, and it also helps to parse filenames to display them in a more convenient way.
Following a brief overview of what I had to do:
TrueNAS
Create dataset, in my case it’s: data/camera
Share the dataset via NFS
Sharing → Unix Shares (NFS) → Add → Choose your new dataset
Create some folder(s) on your new dataset, for example: /Reolink/Wifi-Doorbell/Recordings (to do that, simply mount the NFS share to your local machine or use the terminal)
Most variables are self-explanatory and also well explained by the galery-card docs, but below a few words about the settings I used, beginning with the path to the media which is provided on the entities attribute.
The first part is a default value: media-source://media_source/ Followed by the usage type and name we have chosen when mounting the NSF share: media/Reolink/ Then we need the directory path: Reolink/Wifi-Doorbell/Recordings
Because we chose in the Reolink settings “Generate subfolder by: YYYY-MM-DD“, the files are stored in a hierarchy like this:
2023
10
11
12
01
02
03
04
05
The gallery-card can automatically parse this, if you provide the following setting: folder_format: YYYY/MM/DD. And because the filenames look like this: Haustuer_00_20231230143626.jpg, you have to add file_name_date_begins: 12 to skip the firs letters, and file_name_format: YYYYMMDDHHmmss to parse the date. With caption_format: HH:mm:ss DD/MM you can define the output, how you want to display the parsed timestamp.
15.03.2025: As the original Gallery Card is discontinued, I switched to a fork.