
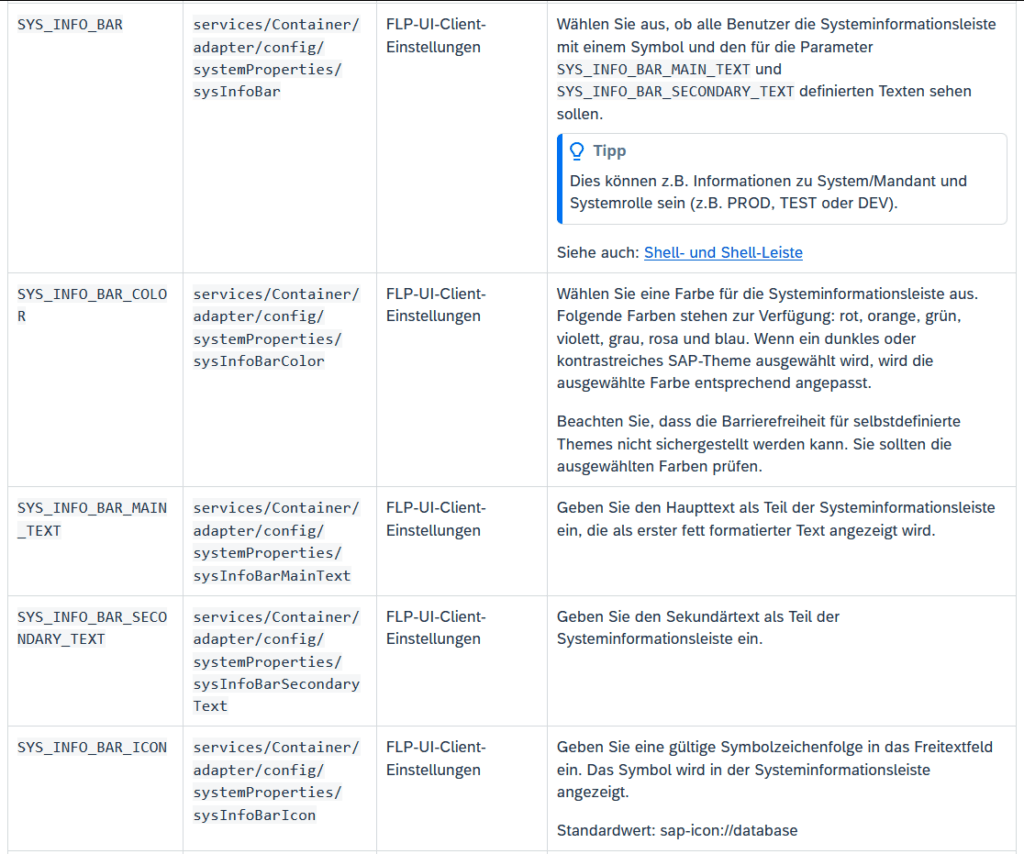
In der Transaktion /UI2/FLP_SYS_CONF bzw. /UI2/FLP_CUS_CONF kann man über die folgenden Parameter eine Info-Bar einblenden um z.B. das aktuelle System oder andere Informationen dem Anwender anzuzeigen.

In der Transaktion /UI2/FLP_SYS_CONF bzw. /UI2/FLP_CUS_CONF kann man über die folgenden Parameter eine Info-Bar einblenden um z.B. das aktuelle System oder andere Informationen dem Anwender anzuzeigen.
Since there is no Wizard anymore for creating a Launchpad Plugin, as there was in WebIDE, you have to create it manually. The following two guides helped me create a Launchpad Plugin in BAS from scratch:
https://github.com/SAP-samples/fiori-custom-plugin-abap/tree/main
https://github.com/SAP-samples/launchpad-service-samples
In my scenario, I had to deploy to a normal S/4 HANA system, so I skipped all the Steampunk or WorkZone parts.
In the first sample, for some reason they use jQuery to call an OData Service, in the second sample no OData is called at all. But of course, an OData Service can be used in a Plugin the same way as you do in every other Fiori App. You just have to add your service in the manifest.json like you would normally do:
  "sap.app": {
    ...
    "dataSources": {
      "ZFLP_TEST_SRV": {
        "uri": "/sap/opu/odata/sap/ZFLP_TEST_SRV",
        "type": "OData",
        "settings": {
          "odataVersion": "2.0",
          "localUri": "localService/metadata.xml"
        }
      }
    }
  },
  ...
  "sap.ui5": {
    ...
    "models": {
      "": {
        "dataSource": "ZFLP_TEST_SRV",
        "preload": true,
        "settings": {
          "defaultCountMode": "Inline",
          "metadataUrlParams": {
            "sap-documentation": "heading"
          }
        }
      }
    }
And for i18n
  "sap.ui5": {
     ...
    "models": {
      "i18n": {
        "type": "sap.ui.model.resource.ResourceModel",
        "settings": {
          "bundleName": "ne.flp.plugin.flp_my_plugin.i18n.i18n"
        }
      }
    }
To activate the deployed Plugin, use these transactions:
/ui2/flp_conf_def → Define FLP Plugins → Create new entry/ui2/flp_sys_conf → Make Plugin available system-wide/ui2/flp_cus_conf → Make plugin available in specific clients/ui2/flp → open Fiori Launchpad to test pluginThere are many reasons why a workflow task might not appear in the Inbox app. One reason I always forget to check is quite simple.
Check whether a scenario is configured!
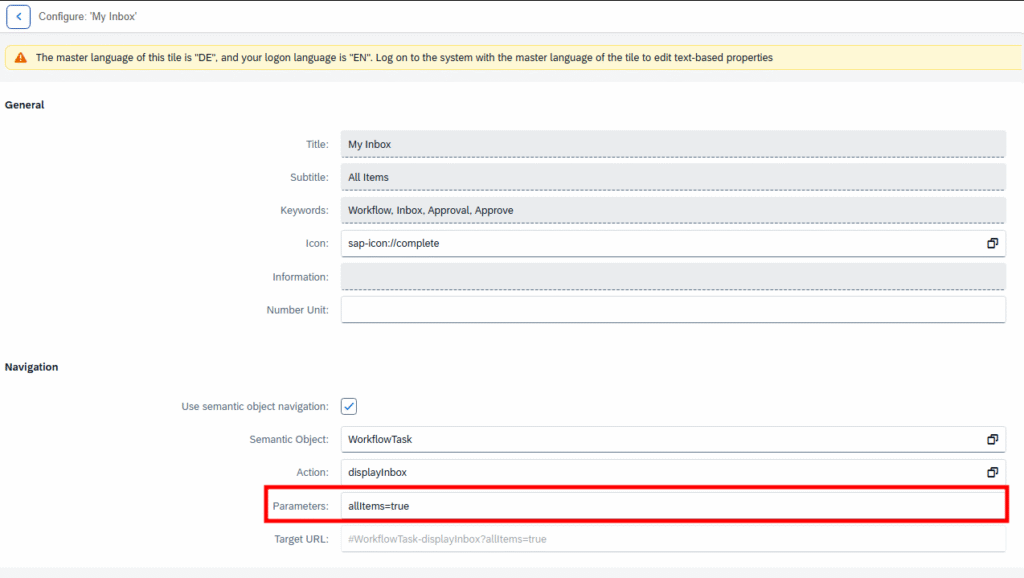
Simply open the Tile configuration and check the Parameter field. If there is a scenario, it would be something like scenarioId=EHS_HS_HAZMAT instead of allItems=true.
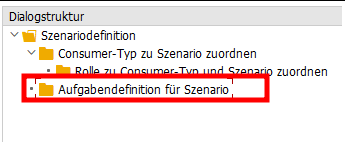
If a scenario is in use, you can find more about it in the customizing here:
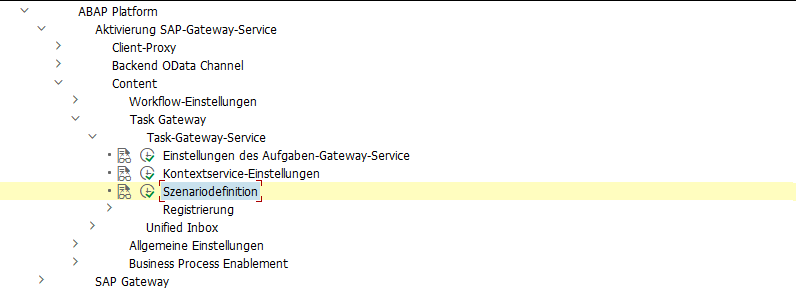
In a scenario, a restriction to certain workflow tasks can be configured.
More information can be found here:
https://help.sap.com/docs/SAP_S4HANA_ON-PREMISE/8308e6d301d54584a33cd04a9861bc52/68c4379a35f644f6b3a73428594d6c3f.html?locale=en-US&version=LATEST
https://community.sap.com/t5/technology-blog-posts-by-sap/sap-fiori-for-sap-s-4hana-fiori-my-inbox-part-1-activation/ba-p/13326175
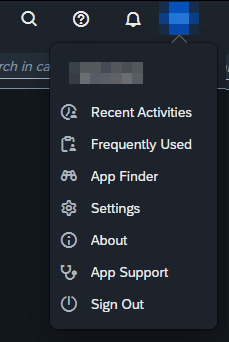
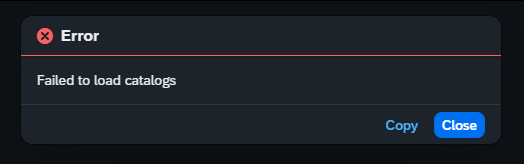
Recently, I was confronted with the “Failed to load catalogs” error message when starting the Fiori Launchpad (/ui2/flp) and navigating to the App Finder.
The system was quite new and the Fiori Customizing was not completely done yet. When opening the Dev Tools, I saw a failed request to
/sap/opu/odata/ui2/page_builder_pers/PageSets('%2FUI2%2FFiori2LaunchpadHome')

Opening this failed request in a new tab results in an HTTP 404 from an Apache web service. So it looked like an Apache was set up as reverse proxy in front of the sap system. I tried to call the PageSets endpoint without providing the key %2FUI2%2FFiori2LaunchpadHome and got an HTTP 200. So in general, Apache was working, and the service endpoint page_builder_pers was responding. Next, I did the same service calls from the gateway client and both calls were working fine. So it looked like Apache was the problem when providing the PageSets key. After a quick search, I found this post on Stack Overflow:
https://stackoverflow.com/questions/37834925/apache-reverse-proxy-blocking-sap-fiori-launchpad-url
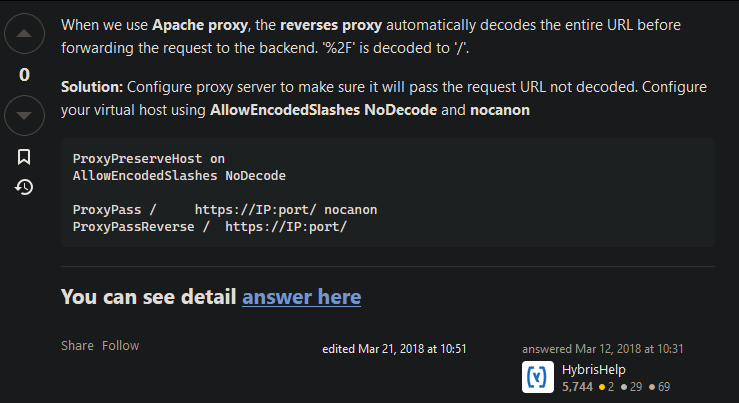
So the issue was some (in this case) incorrect decoding of ‘%2F’. After contacting the basis team and adding the proposed Apache configs, the request finally resolved successfully, and the Launchpad was displaying some apps.
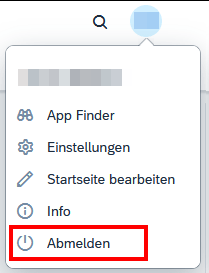
Use the attachLogoutEvent of the ushell container to trigger your approuter logout endpoint, that needs to be configured in your xs-app.json. The code in my launchpad.html looks like this:
    <script>
        sap.ui.getCore().attachInit(() => {

            sap.ushell.Container.createRenderer('fiori2', true).then(renderer => renderer.placeAt("content"))

            sap.ushell.Container.attachLogoutEvent(e => {
                e.preventDefault()
                window.location.replace('/do/logout')
            }, false)

        })
    </script>
This way, you can reuse the default logout dialog logic the launchpad provides.
For completeness, find also my approuter configuration and custom logout page below.
My xs-app.json:
{
  "welcomeFile": "index.html",
  "authenticationMethod": "route",
  "logout": {
    "logoutEndpoint": "/do/logout",
    "logoutPage": "/logged-out.html"
  },
  "sessionTimeout": 60,
  "routes": [
    {
      "source": "^/logged-out.html$",
      "localDir": ".",
      "authenticationType": "none"
    },
    {
      "source": "^/launchpad.html$",
      "localDir": ".",
      "authenticationType": "xsuaa",
      "cacheControl": "no-cache, no-store, must-revalidate"
    },
    {
      "source": "^/appconfig/(.*)$",
      "localDir": ".",
      "authenticationType": "xsuaa"
    },
    {
      "source": "^/user-api(.*)",
      "target": "$1",
      "service": "sap-approuter-userapi",
      "authenticationType": "xsuaa"
    },
...
  ]
}
My logged-out.html file, placed in the approuter folder next to the launchpad.html:
<!DOCTYPE html>
<html>

<head>
    <meta http-equiv="X-UA-Compatible" content="IE=edge" />
    <meta http-equiv="Content-Type" content="text/html;charset=UTF-8" />
    <meta name="viewport" content="width=device-width, initial-scale=1.0" />
    <title>Logged out</title>
    <style>
        h2 {
            font-family: "Arial", sans-serif;
        }
        .centered {
            position: absolute;
            top: 50%;
            left: 50%;
            transform: translate(-50%, -50%);
        }
    </style>
</head>

<body>
    <div class="centered">
        <h2>You are now logged out</h2>
    </div>
</body>

</html>
https://sapui5.hana.ondemand.com/sdk/#/topic/642dab291a7b47ec9d46c39b3c482aba
data-sap-ui-flexibilityServices='[{"connector": "LocalStorageConnector"}]'
If you are using the Launchpad Sandbox in your CAP project (like it is done here or here) and you want to change the logo in the header bar, simply add this little CSS snippet in the launchpad.html file:
    <style>
        #shell-header-icon {
            content: url("./logo.png");
        }
    </style>
Of course you could also provide a base64 encoded image:
    <style>
        #shell-header-icon {
            content: url(data:image/png;base64,iVBORw0KGgoAAAANSUhEUgAAGGoAAAVNCAYAAAAIhfswAA...);
        }
    </style>