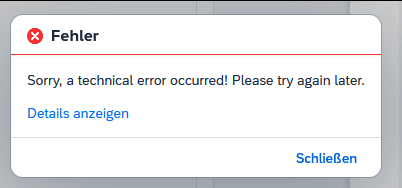
Create a separate ErrorHandler.js file, like it is described here and either do your own error handler implementation, or take the sample from here. To avoid displaying multiple errors at once, follow this chapter.
Thanks to the provided dsag sample, this is takes only a few minutes and improves the user experience a lot!
If you are using the Launchpad Sandbox in your CAP project (like it is done here or here) and you want to change the logo in the header bar, simply add this little CSS snippet in the launchpad.html file:
In my case, there was no way to bind the model to the view, so I did the mapping for each ProcessFlowLaneHeader in the callback function after reading the oData entity.
view.xml
<flow:ProcessFlow id="process-flow"/>
controller.js
var oProcessFlow = this.getView().byId("process-flow")

var oRequestFilter = new sap.ui.model.Filter({
    path: "myId",
    operator: sap.ui.model.FilterOperator.EQ,
    value1: myId
})

this.getView().getModel().read("/WorkflowSet", {
    filters: [oFormularIdFilter],
    success: (oData, response) => {
        for (var i = 0; i < oData.results.length; i++) {
            var oLaneHeader = new ProcessFlowLaneHeader({
                laneId: oData.results[i].LaneId,
                iconSrc: oData.results[i].IconSrc,
                text: oData.results[i].Text,
                position: oData.results[i].Position,
                state: [{state: oData.results[i].State, value: "100"}]
            });
            oProcessFlow.addLane(oLaneHeader)
        }
    },
    error: oError => {
        sap.m.MessageToast.show("An error occured while reading entity /WorkflowSet.")
    }
});
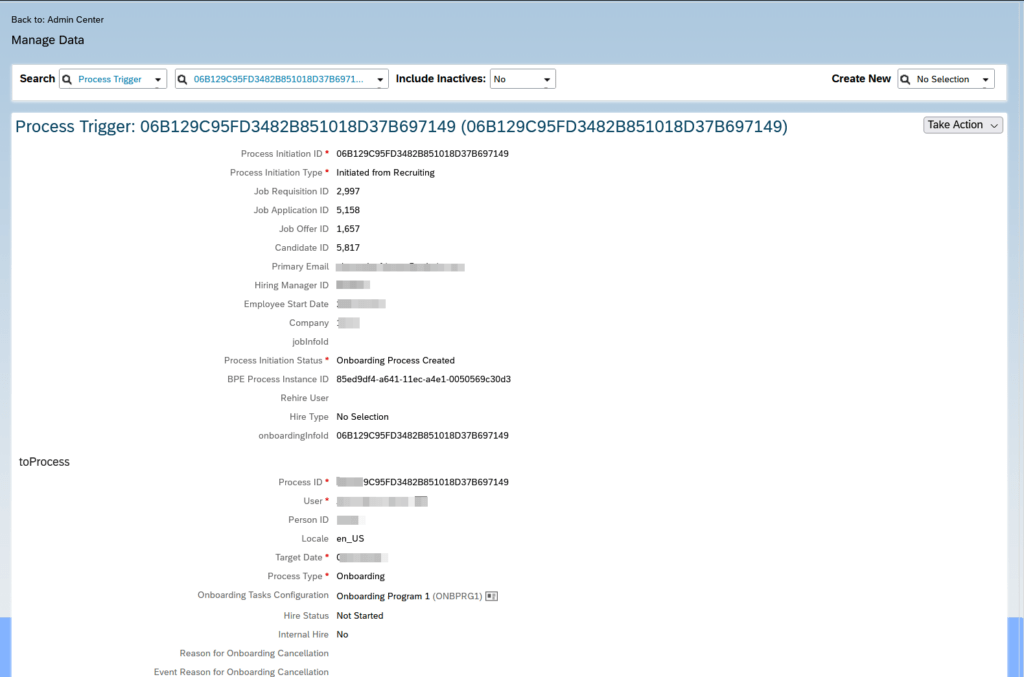
I was looking for a way, to get the candidate ID and Job Application ID for a given User. In a Process Trigger, you can get a good overview of an employee who moved from REC, via ONB to EC, and there I found all the required information.
Manage Data → Search → Process Trigger
This information can also be fetched via API.
API Entity: ONB2Process
### Process Trigger
GET {{$dotenv sf_api_url}}/odata/v2/ONB2Process('06B129C95FD3482B851018D37B697149')
Authorization: Basic {{$dotenv sf_api_auth_base64}}
Accept: application/json

### processTriggerNav, includes rcmCandidateId, rcmApplicationId, rcmJobReqId
GET {{$dotenv sf_api_url}}/odata/v2/ONB2Process('06B129C95FD3482B851018D37B697149')
?$expand=processTriggerNav
Authorization: Basic {{$dotenv sf_api_auth_base64}}
Accept: application/json

### Fetch candidateId, jobApplicationId, jobReqId via userId
GET {{$dotenv sf_api_url}}/odata/v2/User(100000)/userOfONB2ProcessNav
?$expand=processTriggerNav
&$select=processId,processTriggerNav/rcmApplicationId,processTriggerNav/rcmJobReqId,processTriggerNav/rcmCandidateId
Authorization: Basic {{$dotenv sf_api_auth_base64}}
Accept: application/json