When testing API Endpoints of applications running on BTP, it can be necessary to authenticate using the right S-User credentials. In such a scenario, the Universal ID password will not help.
Universal ID password can be changed via https://accounts.sap.com (will forward to the Standard SAP ID Service)
A specific S-User password can be changed via https://account.sap.com (will forward to Manage my Account, where you see the different S-User and P-User, linked to your Universal ID)
Since my Proxmox Server is also my HTPC in my living room, I noticed that suddenly the CPU fan became very noisy. When checking all LXCs and VMs, it turned out that the Home Assistant VW was the cause.
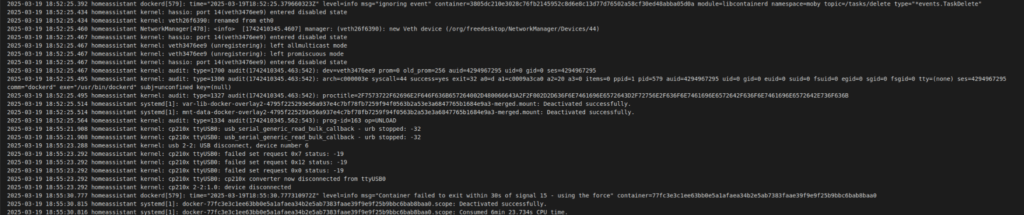
When checking the Supervisor logs, I saw that there was a docker container that got terminated. This seemed to match the CPU usage pattern I checked before.
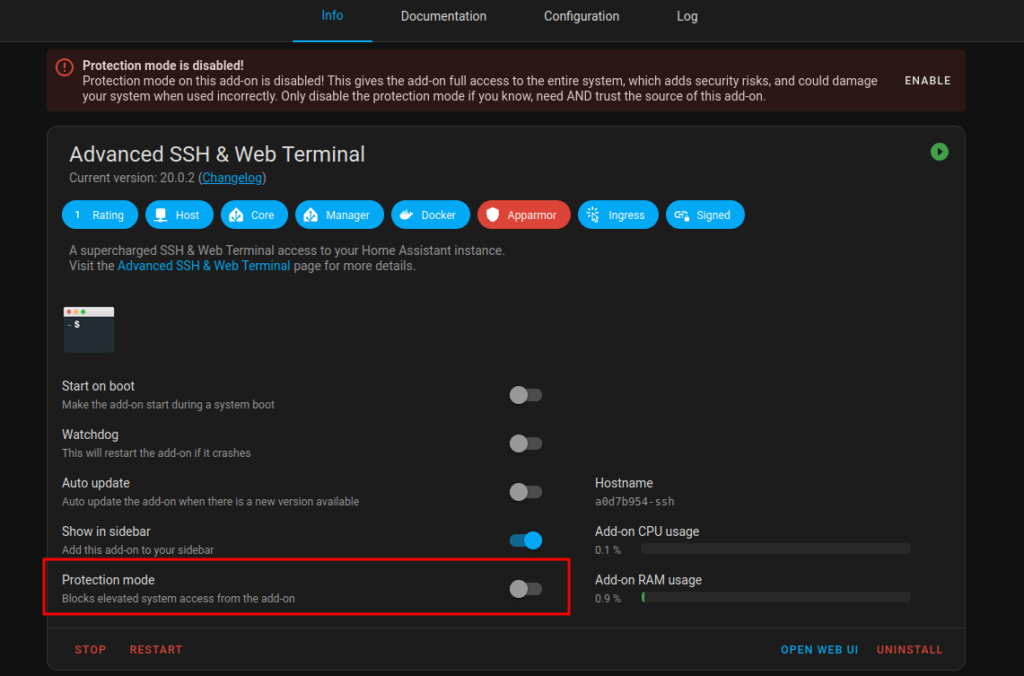
To inspect the docker container via the Advanced SSH & Web Terminal add-on, you must disable the Protection mode first.
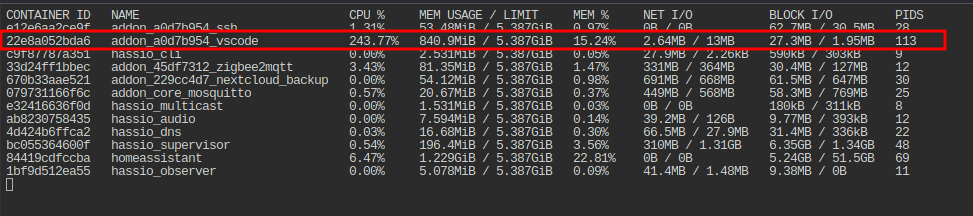
After that, simply run docker stats.
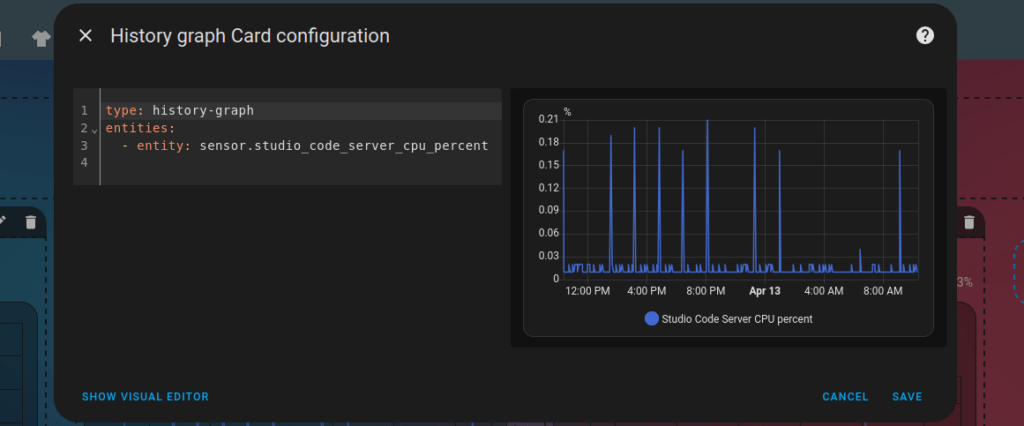
If there are no suspicious values, simply open some of the add-ons in another window and check how the values behave. In the above screenshot, I simply opened the VSCode editor, and you can immediately see an extreme high CPU usage. After a quick search, I found open issues that seem to be related to this issue:
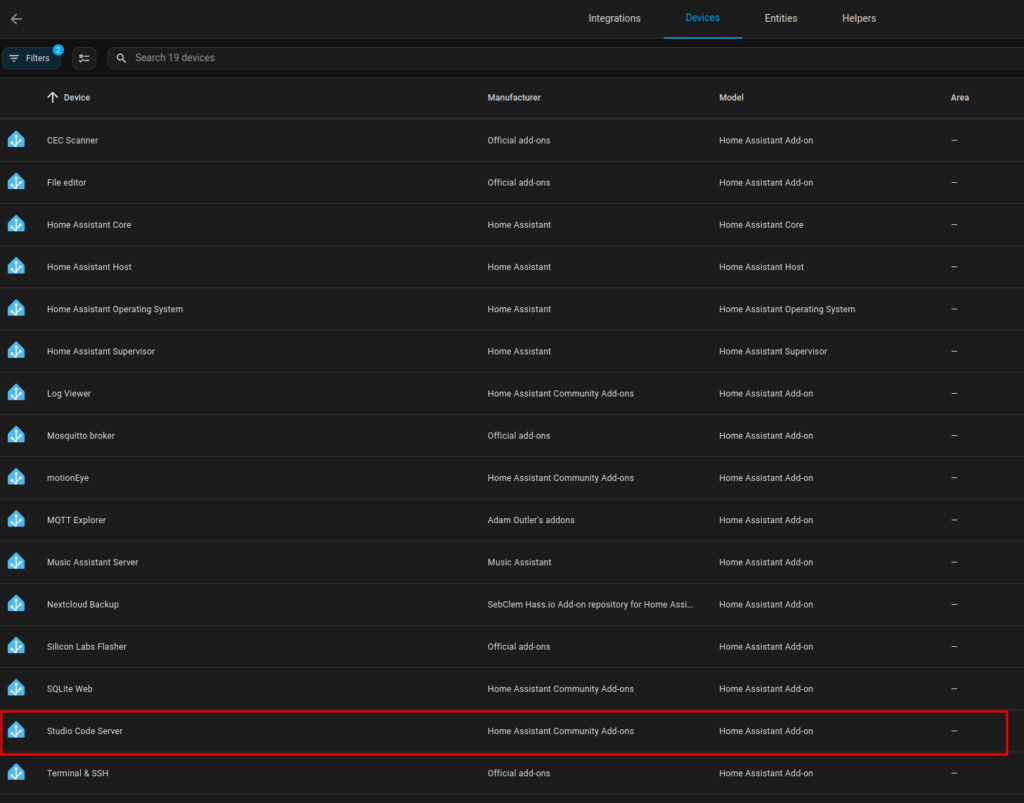
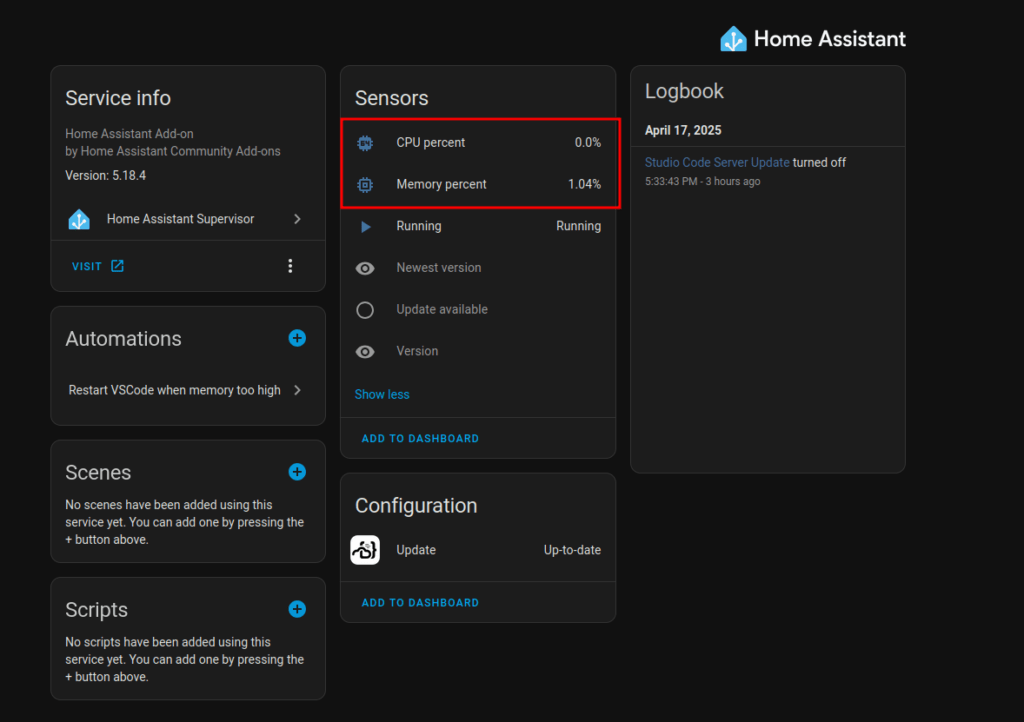
As a workaround, a user had the idea to simply restart VSCode via an automation, when its CPU rises above a threshold. To do this, you have to enable some CPU & Memory sensors of the VSCode add-on. Search for your Home Assistant Supervisor Integration.
Select the Studio Code Server add-on.
And enable the sensors.
Now you can set up a simple automation like the following.
Recently, I had the task of assigning a workflow decision step to some users that were customized in a Z-Table. Normally I would have done this, by creating a container element “Actors”, a task that calls a method to return these Actors and use these Actors in the decision step. But this time I tried a custom AC Rule for the first time and I must say it was much easier than expected.
To begin, simply create a function module. The function module only needs two table parameters, AC_CONTAINER and ACTOR_TAB. They can be copied from RH_GET_ACTORS or GM_GET_RESP_FROM_INTERNAL. There you can also check, how to access the AC_CONTAINER table, if you need any input values from the WF. In my case, I just had to read the Z-Table and return the result via ACTOR_TAB.
SELECT * FROM ztable INTO TABLE @DATA(lt_table).

LOOP at lt_table INTO DATA(ls_table).
  "you can also check if the provided user exists by using function module 'SUSR_USER_CHECK_EXISTENCE'
  APPEND VALUE #( otype = 'US' objid = ls_table-userid ) TO actor_tab.
ENDLOOP.

IF lines( actor_tab ) = 0.
  RAISE nobody_found.
ENDIF.
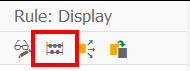
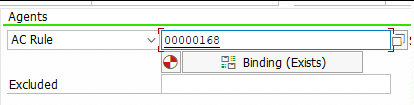
Then simply go to tcode PFAC, create a rule, choose Type F, provide the function module and check the flag box at the end.
In the PFAC transaction, you can also simulate the rule resolution.
If everything works fine, add the new created rule to the decision step.
CALL FUNCTION 'DATE_CHECK_PLAUSIBILITY'
  EXPORTING
    date                      = '20250231' " invalid date
  EXCEPTIONS
    plausibility_check_failed = 1
    OTHERS                    = 2.
IF sy-subrc <> 0.
  MESSAGE ID sy-msgid TYPE sy-msgty NUMBER sy-msgno WITH sy-msgv1 sy-msgv2 sy-msgv3 sy-msgv4.
ENDIF.
If you’re not interested in a specific error message, you can also use the following method to get the result as boolean.
DATA ls_return TYPE bapireturn.

CALL FUNCTION 'BAPI_EMPLOYEE_CHECKEXISTENCE'
  EXPORTING
    number = 99999999
  IMPORTING
    return = ls_return.
IF ls_return-type = 'E'.
  MESSAGE ls_return-message TYPE ls_return-type.
ENDIF.
On newer systems there is also class CL_HRPA_MAINTAIN_EMPLOYEE with method PERSONNEL_NUMBER_EXISTS. Or class CL_HRPA_MAINTAIN_EMPLOYEE_UTIL and method EXIST_EMPLOYEE.