Möchte man Führungskräften die Möglichkeit geben, in der MyForms App die Formulare ihrer Mitarbeiter einzusehen, kann dies einfach über den HCMFAB_B_COMMON BAdI in der Methode GET_CONFIGURATION realisiert werden.
      IF iv_application_id = gc_application_id-myhrforms.
        ev_enable_onbehalf = boolc( go_employee_api->is_manager( iv_application_id = iv_application_id
                                                                 iv_pernr          = iv_employee_number ) = abap_true ).
      ENDIF.
Im Standard werden der Zeitnachweis und Entgeltnachweis angezeigt. Möchte man nun für die Führungskraft den Entgeltnachweis ausblenden, kann dies über den BAdI HCMFAB_BI_MYFORMS gemacht werden.
In der Methode GET_HIDE_REM_TIME_STATEMENT kann dies z.B. so realisiert werden.
        ev_hide_rem  = abap_false.
        ev_hide_time = abap_false.

        DATA(ownpernr) = go_employee_api->get_employeenumber_from_user( ).

        IF iv_pernr <> ownpernr.
          ev_hide_rem = abap_true.
        ENDIF.
Die Variable ev_hide_rem verhindert das Hinzufügen des Entgeltnachweises im folgenden, wie ab Zeile 25 zu sehen.
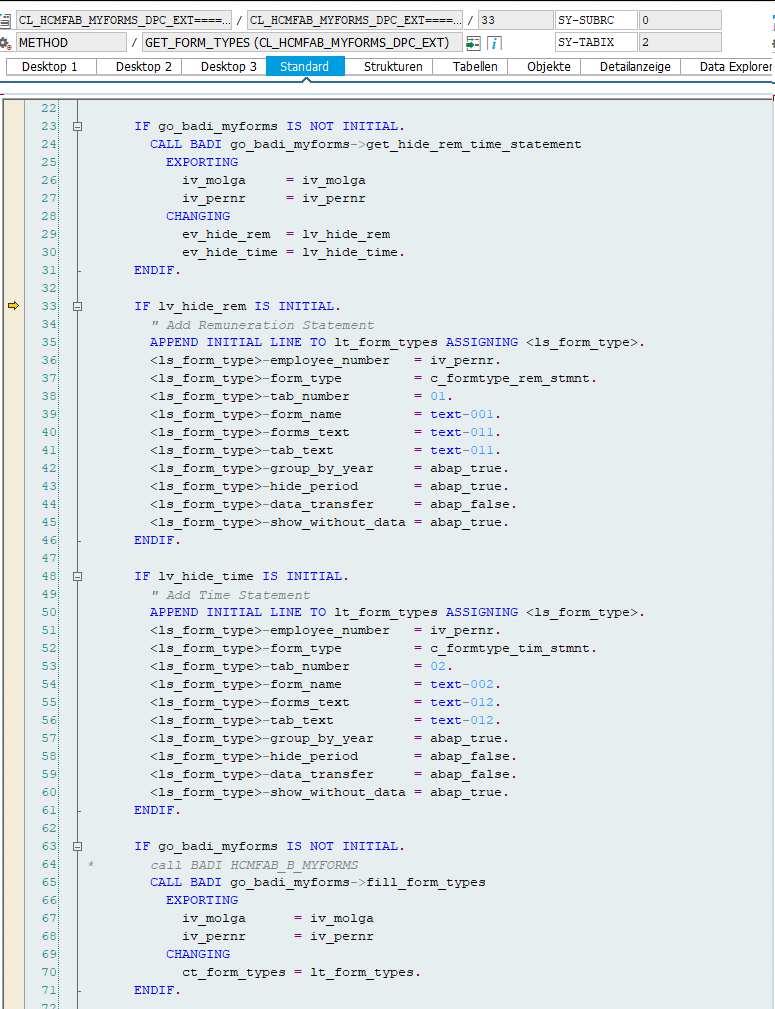
Jedoch ist nach meiner Beobachtung das noch nicht ausreichend, da in der Methode FILL_FORM_TYPES der Entgeltnachweis dann doch wieder hinzugefügt wird.
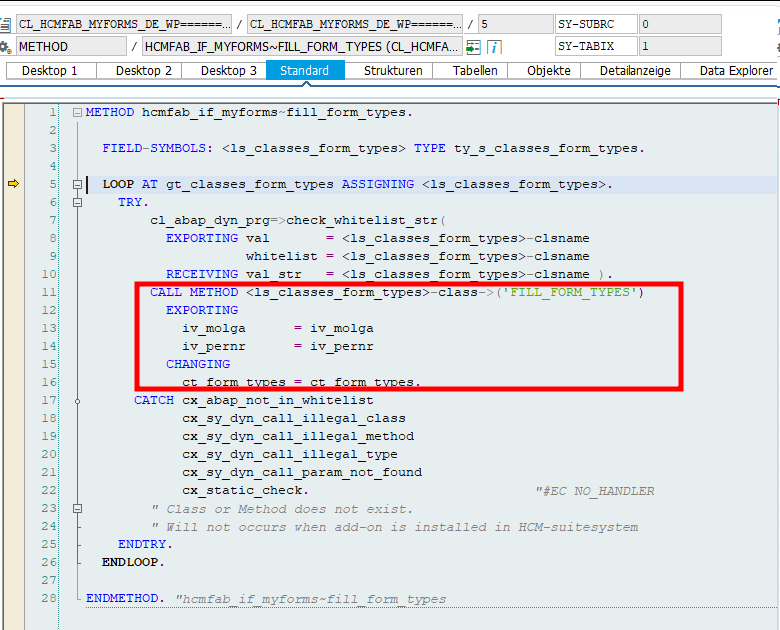
Daher habe ich den Entgeltnachweis zusätzlich noch in der Methode FILL_FORM_TYPES entfernt.
DATA(ownpernr) = go_employee_api->get_employeenumber_from_user( ).
IF iv_pernr <> ownpernr. " Manager dürfen nur Zeitnachweise ihrer Mitarbeiter sehen
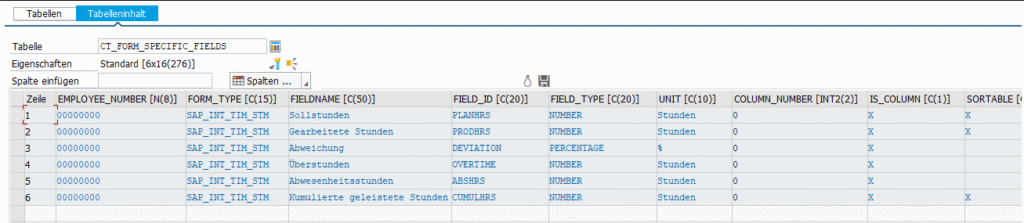
DELETE ct_form_types WHERE form_type <> 'SAP_INT_TIM_STM'.
RETURN.
ENDIF.
Die Führungskraft kann nun ausschließlich den Zeitnachweis des Mitarbeiters sehen. Er selbst kann alle Formulare wie gewohnt einsehen.