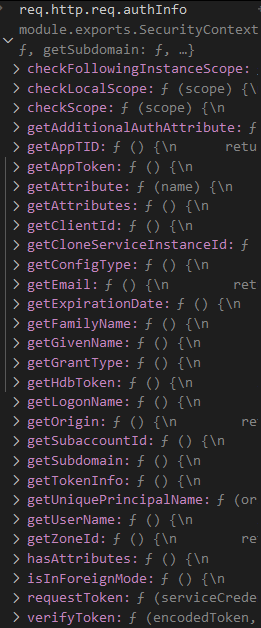
I now noticed that you can also use the original request object and the getSubdomain function of the authInfo object. It’s provided by @sap/xssec and is only available when using XSUAA, means not with mocked authentication. This way you can get the subdomain in a single line:
In your mta.yaml you can define environment variables, which are filled during deployment. They can be filled with MTA Development and Deployment Parameters. Click here for an overview.
To get the URL of your deployed CAP service, simply use the ${default-url} parameter and pass the value to a variable below the properties attribute, e.g. SRV_URL. The approuter has to provide its default-url, which can then be used in the service for a variable, e.g. APPROUTER_URL.
After deployment, you can now access the URL via process.env.SRV_URL in a service handler. During development, simply use the .env file to provide the SRV_URL value.
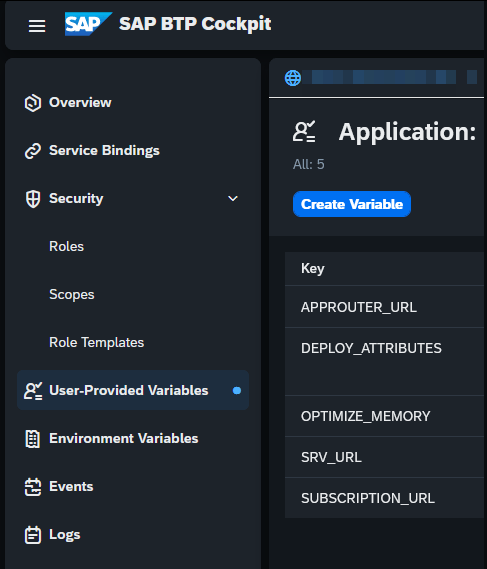
You can check all the variables via the BTP Cockpit: Subaccount → Space → Select application → User-Provided Variables
using my.Model as db from '../db/data-model';

service myService @(requires: 'authenticated-user') {

    @readonly
    @cds.odata.valuelist
    entity uniqueValues as select from db.Table distinct {
        key field
    };
}