Until recently, I only used my RaspberryPi 3 as Bluetooth Speaker with the HifiBerry AMP2 and two old B&W DM601. This setup only consumes about 3 Watts idling, so its running 24h. I used the VLC Android App on my smartphone to access my music on my NAS and streamed it via Bluetooth to the Pi.
But I wanted to control the music on different devices (like Tablet, HTPC, Desktop) and was annoyed, having to reconnect my smartphone Bluetooth connection all the time when coming home. Also there is still a loss of quality with Bluetooth and i have many FLAC files now. That’s why I gave Music Player Daemon (MPD) a try. A daemon which runs on the Pi and can be controlled from different clients. It accesses my music library via Wifi directly on the NAS.
These are the steps I had to make on my Raspberry Pi:
- Firmware update
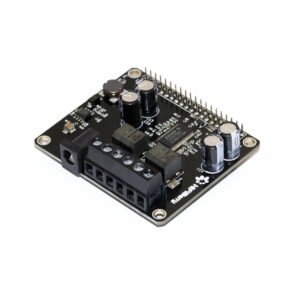
- Set up the the Hifiberry AMP2 (if not yet done)
- Mount NFS share with your music
- Install MPD and the clients MPC and ncmpcpp
- Edit MPD config file
- Run MPC update to fill library
- Configure NCMPCPP
- MPDroid as smartphone client
1. Firmware update
I had some audio cracking when switching a song or just pressing play and pause. Following this blog, they released a fix with in a newer firmware version, unfortunately after a while they broke it again with a later firmware version…. nevertheless I made the update and somehow I get less cracking, even if it doesn’t disappear completely.
sudo apt-get install rpi-update
sudo rpi-update
sudo reboot
Update 23.05.2020: Install PulseAudio, if the Firmware update will not help.
https://dbader.org/blog/crackle-free-audio-on-the-raspberry-pi-with-mpd-and-pulseaudio#update2
https://wiki.archlinux.org/index.php/Music_Player_Daemon/Tips_and_tricks#Local_(as_your_own_user)
2. Set up the the Hifiberry AMP2
Just follow these steps: https://github.com/project-owner/Peppy.doc/wiki/HiFiBerry-Amp
And check if user Pi is member of the audio group. If not, add him to.
$ groups
pi adm dialout cdrom sudo audio video plugdev games users input
$ sudo usermod -a pi -G audio
3. Mount NFS share
My music is stored on to a NAS and published via NFS. So I just had to mount it to my Pi.
https://www.elektronik-kompendium.de/sites/raspberry-pi/2102211.htm
sudo apt install nfs-common
sudo mkdir -p /mnt/nfs/music
showmount -e ipadress
sudo mount -t nfs -o soft ipadress:/data/music /mnt/nfs/music
Use autofs to auto mount the NFS share on boot.
https://www.elektronik-kompendium.de/sites/raspberry-pi/2102221.htm
sudo apt install autofs
sudo nano /etc/auto.nfs
sudo nano /etc/auto.master
sudo service autofs restart
mount
ls /mnt/nfs/music/
sudo reboot
#check again after reboot
ls /mnt/nfs/music/
auto.nfs
music -fstype=nfs,rw,retry=0 192.168.178.100:/data/music
auto.master
/mnt/nfs /etc/auto.nfs
4. Install MPD and the clients MPC and ncmpcpp
sudo apt update
sudo apt install mpd mpc ncmpcpp
5. Edit MPD config file and restart service
Open the mpd.conf file in your favorite editor and after editing, restart the service.
sudo nano /etc/mpd.conf
sudo systemctl restart mpd
I had to make the following changes in the config:
music_directory         "/mnt/nfs/music"
bind_to_address         "any"
auto_update             "yes"
audio_output {
        type            "alsa"
        name            "My ALSA Device"
        device          "hw:0,0"
        mixer_type      "software"
}
Check aplay -l for the right device settings.
$ aplay -l
**** List of PLAYBACK Hardware Devices ****
card 0: sndrpihifiberry [snd_rpi_hifiberry_dacplus], device 0: HiFiBerry DAC+ HiFi pcm512x-hifi-0 [HiFiBerry DAC+ HiFi pcm512x-hifi-0]
  Subdevices: 0/1
  Subdevice #0: subdevice #0
6. Run MPC update to fill library
The Music Player Client (MPC) acts as client (as well as ncmpcpp) to MPD. MPD itself is just the daemon and has no music controlling capabilities.
#check if the output(s) is enabled
mpc outputs
#update the database (will take while)
mpc update
#look up the commands to adjust volume and play a file as test
mpc help
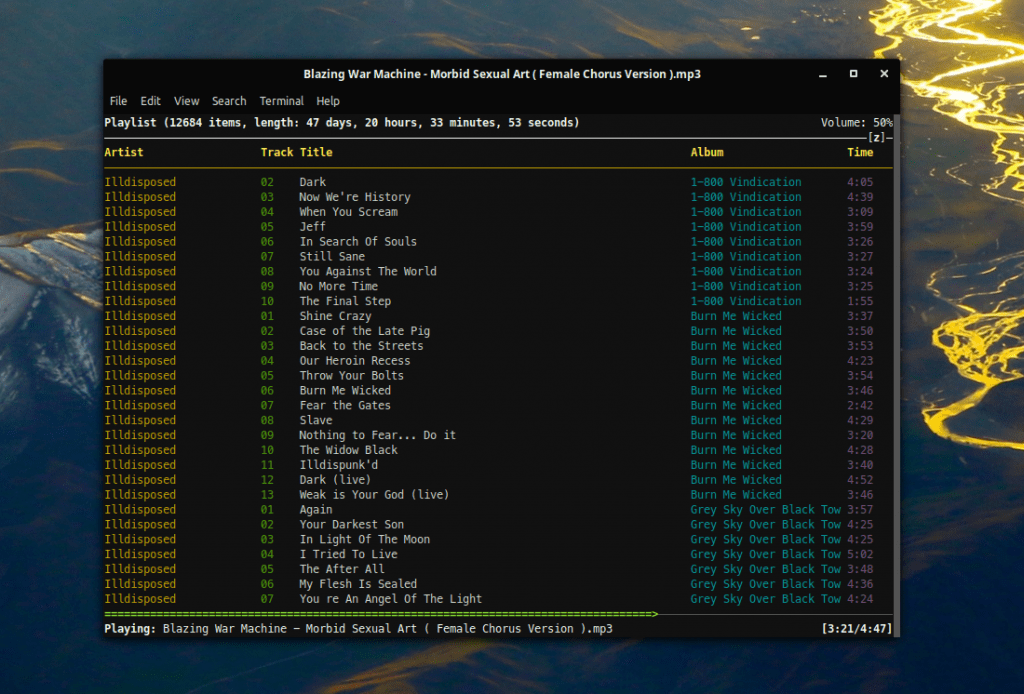
7. Configure ncmpcpp
When using ncmpcpp as client, you have to do a small configuration to tell the client to which server it should talk to. So open the config:
sudo nano ~/.ncmpcpp/config
and insert the following lines. When using ncmpcpp directly one the raspberry, set 127.0.0.1 as mpd_host. When using it on another machine (like your desktop), insert the IP of the raspberry pi.
ncmpcpp_directory =         "~/.ncmpcpp"
mpd_host =                  "127.0.0.1"
mpd_port =                  "6600"
allow_for_physical_item_deletion = yes
Here is a cool cheatsheet on how to control ncmpcpp:
https://pkgbuild.com/~jelle/ncmpcpp/
If you prefer a GUI, install Cantata or Sonata:
https://github.com/CDrummond/cantata
https://www.nongnu.org/sonata/
8. Install MPDroid
To control MPD via Smartphone, install the MPDroid App from the F-Droid store: https://f-droid.org/en/packages/com.namelessdev.mpdroid/