Homelab, Linux, JS & ABAP (~˘▾˘)~
 

[Terminal] Neofetch + lolcat

1. Install neofetch.

sudo apt install neofetch

2. Install lolcat.

# When installing with "apt install lolcat", you will get version: lolcat 42.0.99
# To get the current version use:
sudo apt remove lolcat -y
wget https://github.com/busyloop/lolcat/archive/master.zip
unzip master.zip
rm master.zip
cd lolcat-master/bin
sudo gem install lolcat

3. Append the following line at the end of your ~/.bashrc (or at the beginning, if you are using zsh: ~/.zshrc) file, to get the neofetch output on every terminal run.

neofetch | lolcat

If you want to change the config of neofetch, you’ll find it here:

~/.config/neofetch/config.conf

[Shell] Replace pattern

How to replace a specific pattern in a file or folder name. In my case I needed to correct the season on each file of a series from “S08” to “S09”:

for f in *; do mv "$f" "$(echo "$f" | sed s/S08/S09/)"; done      

If you want to replace a pattern recursive, use the command “find”:

find . -name '*' -exec bash -c 'echo mv $0 ${0/S08/S09}' {} \;    // with echo for testrun

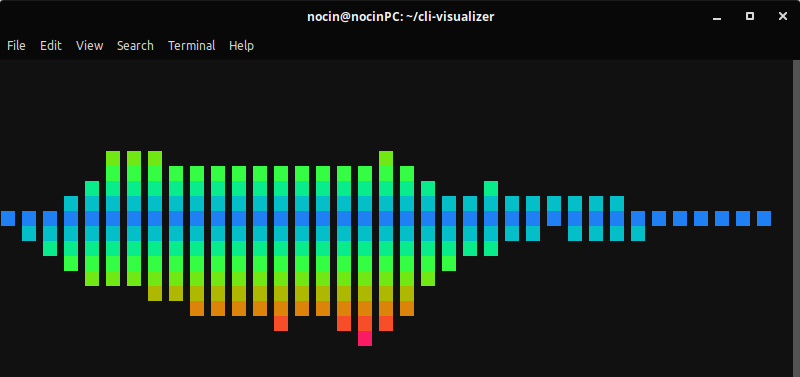
[Terminal] Command Line Audio Visualizer

Look at Github cli-visualizer for installation instructions.

Path to config file: ~/.config/vis/config
I’ve decommented these two lines:

audio.sources=pulse
colors.scheme=rainbow

Run with “vis”.
Use the following controls when running:

KeyDescription
spaceSwitch visualizers
q or CTRL-CQuit
rReload config
cNext color scheme
sToggle Mono/Stereo Mode
+Increase scaling by 10%
Decrease scaling by 10%

[Terminal] Simple man page

If you are using the man command, e.g.:

man find

You will often get a very long manual.
But there is a much easier to read man page called tldr, with examples how to use the command.

apt install tldr
tldr find

[Terminal] Terminal cat grep

Most users are using cat and grep for searching for a string in a file:

cat filename | grep search_string

But you can use grep completely without cat:

grep search_string filename

[Terminal] !!

You can repeat the last used command by typing “!!”. For example if you typed:

apt upgrade

as non root user, you will get the following message:

error: you cannot perform this operation unless you are root.

But you don’t have to type the whole command again with sudo in front of it, just type:

sudo !!

And it’s doing a:

sudo apt upgrade