Homelab, Linux, JS & ABAP (~˘▾˘)~
 

[Shell] Zsh + Oh My Zsh + Powerlevel10k

Install Zsh (Shell)
https://github.com/robbyrussell/oh-my-zsh/wiki/Installing-ZSH

sudo apt install zsh
chsh -s $(which zsh)

Logout and login back again to use your new default shell.

echo $SHELL

Expected result: /bin/zsh


Install Oh My Zsh (Zsh framework with tools and themes)
https://github.com/robbyrussell/oh-my-zsh

sh -c "$(curl -fsSL https://raw.githubusercontent.com/robbyrussell/oh-my-zsh/master/tools/install.sh)"

In addition I installed the Powerline Fonts:

apt-get install fonts-powerline

Restart your terminal to launch the Oh My Zsh configuration.
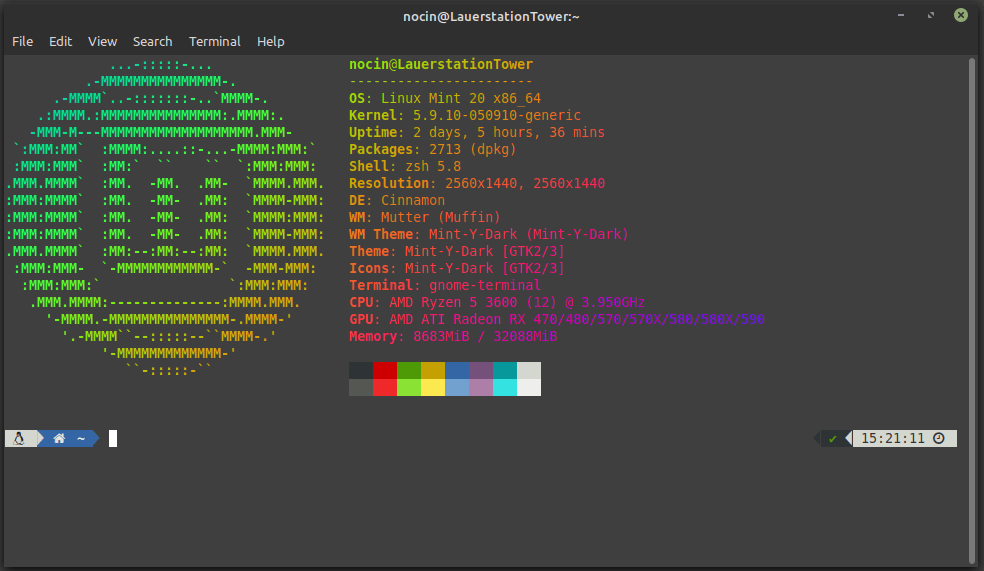
After the installation and configuration I usually add “neofetch | lolcat” at the end of my zsh config: ~/.zshrc


Install Powerlevel10K (Powerlevel10k is a theme for ZSH)
https://github.com/romkatv/powerlevel10k#oh-my-zsh

git clone --depth=1 https://github.com/romkatv/powerlevel10k.git ${ZSH_CUSTOM:-$HOME/.oh-my-zsh/custom}/themes/powerlevel10k

Set ZSH_THEME=powerlevel10k/powerlevel10k in your ~/.zshrc.

I also installed the patched Meslo Nerd Font and set it as terminal font. Else some icons will not be displayed in Powerlevel10k.
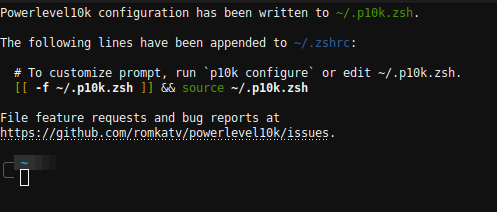
Restart your terminal and go through the configuration steps. The result will look similar to this:
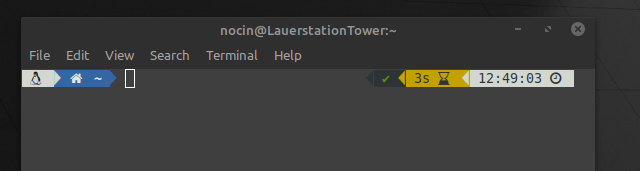
Or like this:

Next you could install a Zsh plugin like: https://nocin.eu/shell-zsh-autosuggestions/

Or check the OMZ Cheatsheet: https://github.com/ohmyzsh/ohmyzsh/wiki/Cheatsheet

[Terminal] Neofetch + lolcat

1. Install neofetch.

sudo apt install neofetch

2. Install lolcat.

# When installing with "apt install lolcat", you will get version: lolcat 42.0.99
# To get the current version use:
sudo apt remove lolcat -y
wget https://github.com/busyloop/lolcat/archive/master.zip
unzip master.zip
rm master.zip
cd lolcat-master/bin
sudo gem install lolcat

3. Append the following line at the end of your ~/.bashrc (or at the beginning, if you are using zsh: ~/.zshrc) file, to get the neofetch output on every terminal run.

neofetch | lolcat

If you want to change the config of neofetch, you’ll find it here:

~/.config/neofetch/config.conf

[Shell] Replace pattern

How to replace a specific pattern in a file or folder name. In my case I needed to correct the season on each file of a series from “S08” to “S09”:

for f in *; do mv "$f" "$(echo "$f" | sed s/S08/S09/)"; done      

If you want to replace a pattern recursive, use the command “find”:

find . -name '*' -exec bash -c 'echo mv $0 ${0/S08/S09}' {} \;    // with echo for testrun

[Terminal] Command Line Audio Visualizer

Look at Github cli-visualizer for installation instructions.

Path to config file: ~/.config/vis/config
I’ve decommented these two lines:

audio.sources=pulse
colors.scheme=rainbow

Run with “vis”.
Use the following controls when running:

KeyDescription
spaceSwitch visualizers
q or CTRL-CQuit
rReload config
cNext color scheme
sToggle Mono/Stereo Mode
+Increase scaling by 10%
Decrease scaling by 10%

[Terminal] Simple man page

If you are using the man command, e.g.:

man find

You will often get a very long manual.
But there is a much easier to read man page called tldr, with examples how to use the command.

apt install tldr
tldr find

[Terminal] Terminal cat grep

Most users are using cat and grep for searching for a string in a file:

cat filename | grep search_string

But you can use grep completely without cat:

grep search_string filename

[Terminal] !!

You can repeat the last used command by typing “!!”. For example if you typed:

apt upgrade

as non root user, you will get the following message:

error: you cannot perform this operation unless you are root.

But you don’t have to type the whole command again with sudo in front of it, just type:

sudo !!

And it’s doing a:

sudo apt upgrade